
Installing a Tesla bike rack properly takes about 30 to 45 minutes on a parked car with a factory hitch receiver, costs nothing beyond your carrier gear, and rates as a job that needs care.
Tools for your bike rack installation
| Item | How much | Why it’s needed | A substitute |
|---|---|---|---|
| Hitch bike rack | 1 unit (2-inch shank) | Holds the bicycles safely behind vehicle | none — don’t swap this |
| Flat screwdriver or pry tool | 1 tool | Removes the plastic rear hitch cover | Plastic trim removal pry bar |
| Hitch pin and clip | 1 set (5/8-inch diameter) | Secures the rack inside the receiver | Locking hitch pin with key |
| Anti-wobble bolt or wedge | 1 assembly | Stops carrier bounce while driving | none — don’t swap this |
| Socket wrench | 1 tool matching your bolt | Tightens the anti-rattle threaded pin | Adjustable wrench |
Before you start
- Shift your vehicle into Park, tap the car icon on your touchscreen, and turn off Sentry Mode to prevent false alarms while working near the bumper.
- Remove dirt and road grit from around the lower rear bumper panel using a damp rag.
- Clear a flat workspace of at least 6 feet behind the bumper so you don’t trip while carrying heavy steel parts.
- Check that your total weight of bikes plus the carrier stays under the maximum vertical tongue weight rating; this limit varies by model — check the label inside your driver door jamb or manual.
- If your vehicle lacks the factory tow package, stop here; adding an internal hitch frame requires structural bumper removal that Tesla service or a licensed mechanic must handle.
Step by step
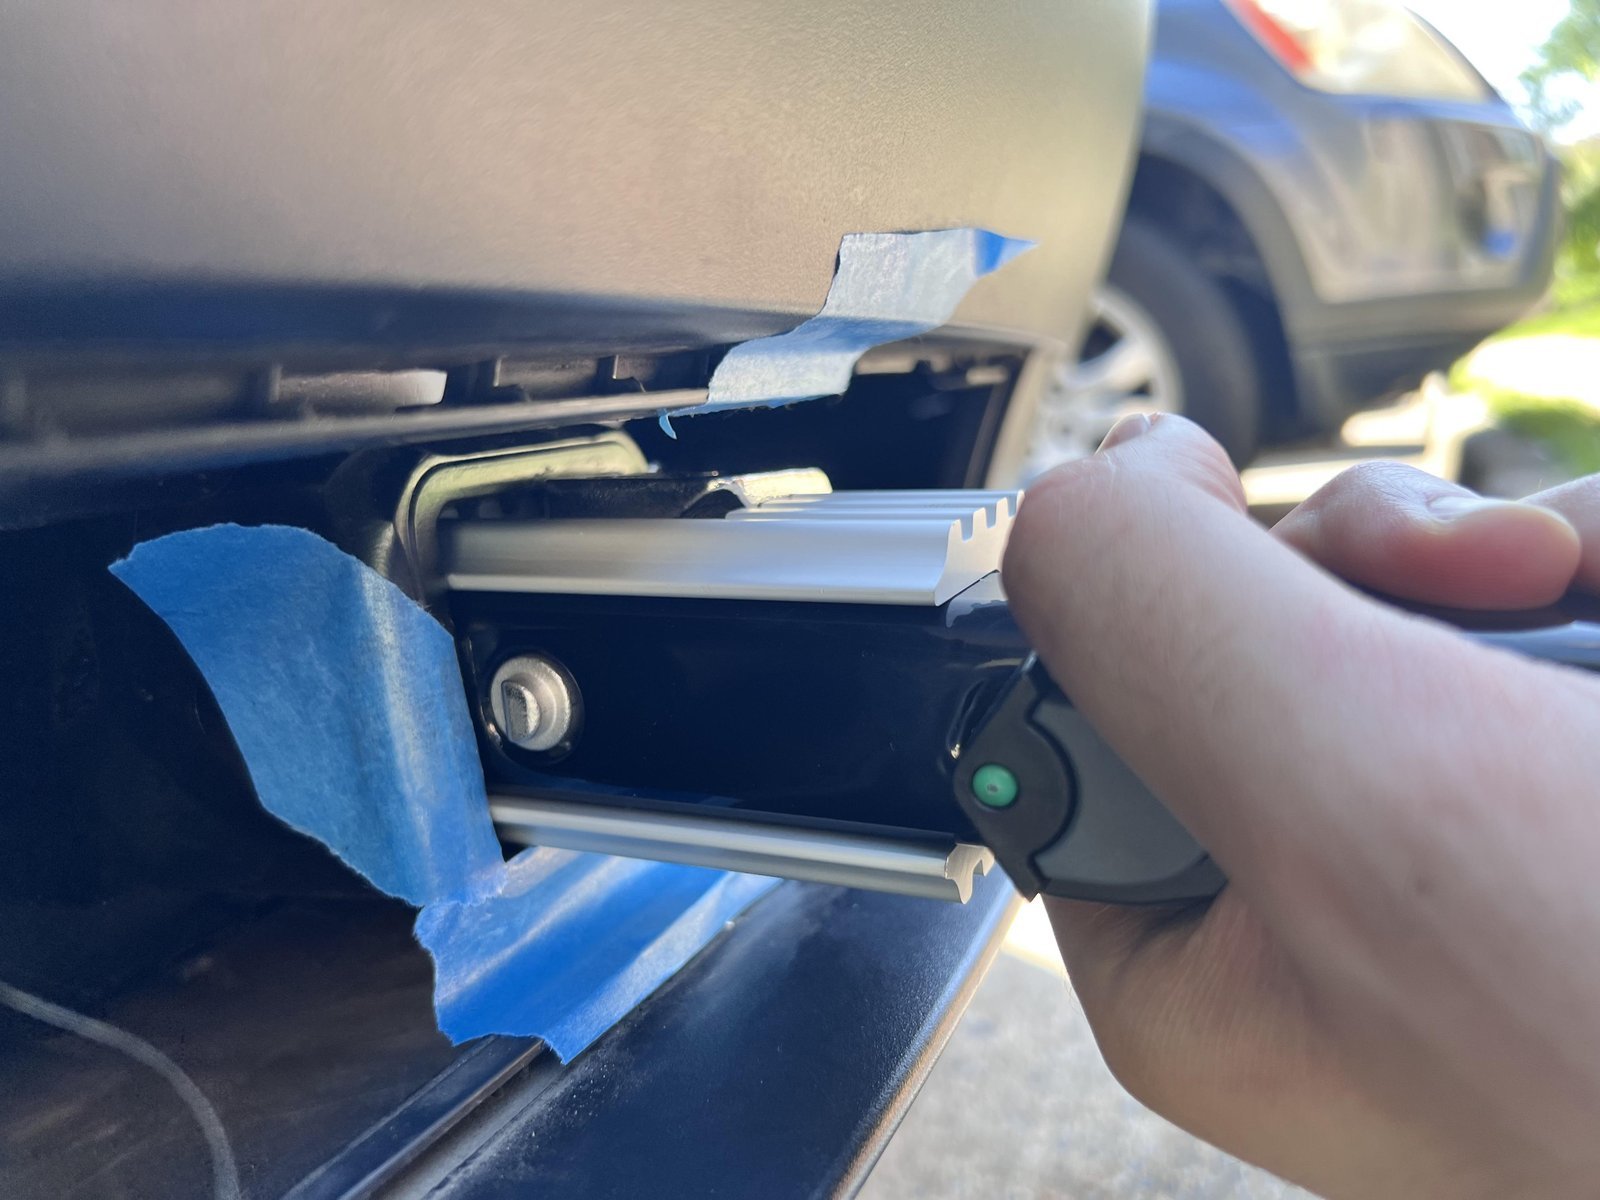
- Insert a flat tool into the lower pry slots of the rear bumper access door, applying steady downward pressure until the clips pop loose.
- Pull the plastic cover straight back toward your body to expose the internal steel receiver tube, and store the cover inside your trunk.
- Inspect the interior of the square receiver opening, wiping away dried mud with a clean rag so the rack shank slides in without binding.
- Lift the bike carrier with both hands, keep the main shank level with the ground, and push it directly into the 2-inch receiver tube.
- Align the cross-hole in your bike rack shank with the matching side hole on the car’s steel hitch receiver.
- Slide your 5/8-inch hitch pin through both holes until the end clears the opposite wall by at least half an inch.
- Insert the safety retaining clip or lock head onto the exposed pin end until you hear and feel the mechanical snap.
- Tighten the rack’s integrated anti-wobble knob or threaded bolt clockwise with your socket wrench until all play disappears inside the joint.
- Pull firmly upward and backward on the carrier arms for 5 seconds to ensure the whole car rocks without the hitch joint shifting.
- Open your center touchscreen, select Driving, and enable Trailer Mode or turn off rear parking chimes to stop false sensor warnings.
How to know it worked
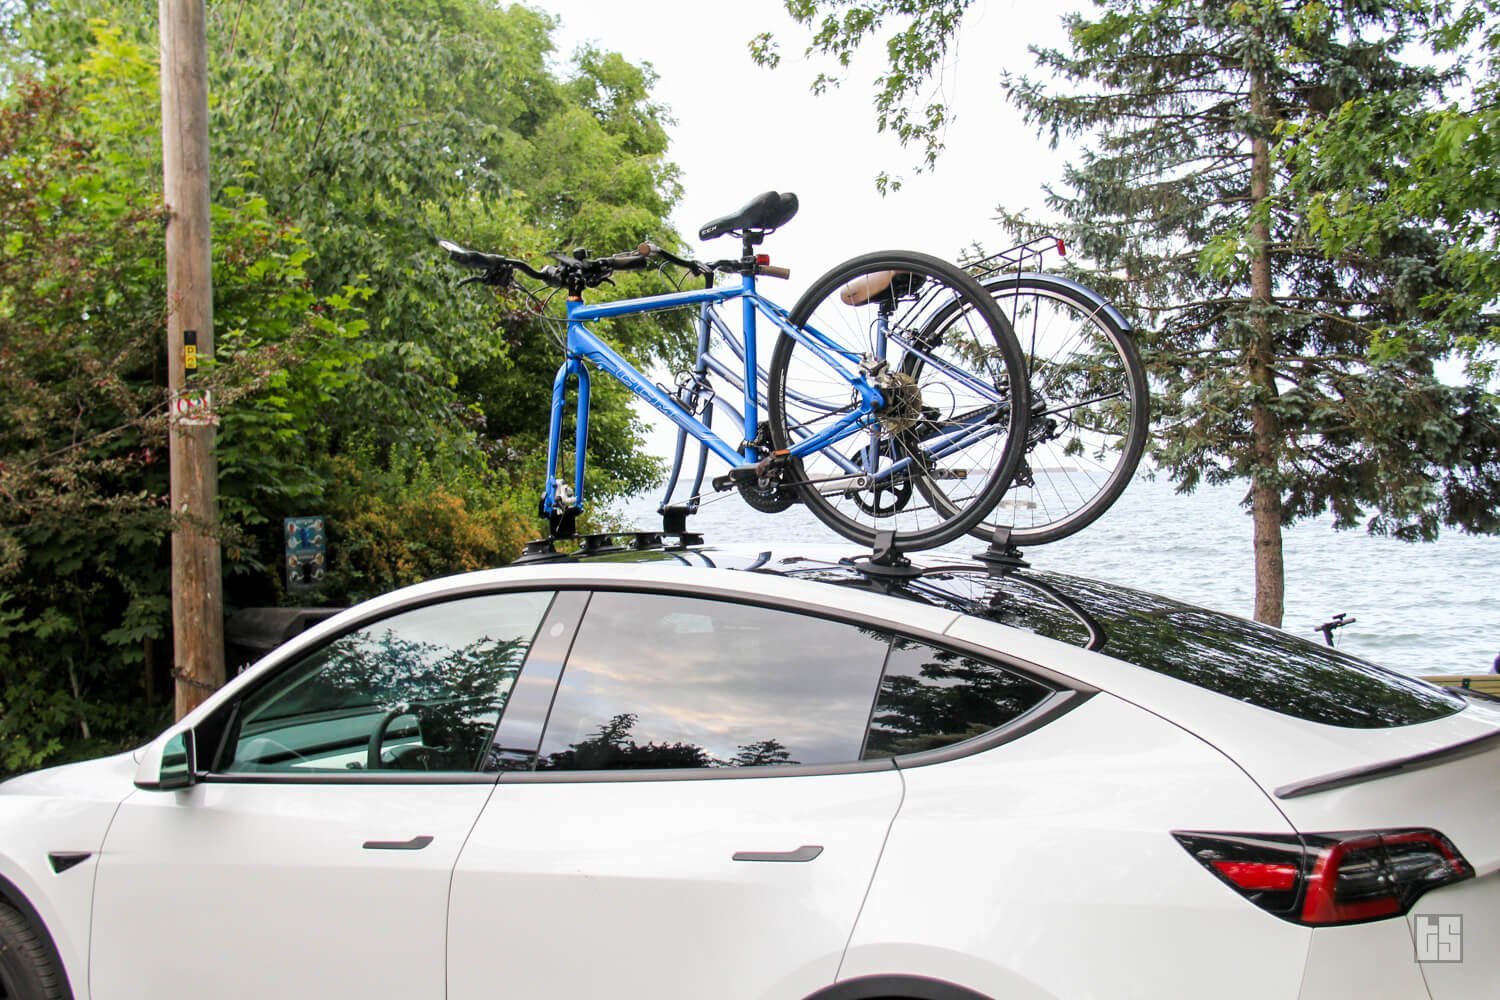
Stand behind the vehicle and push the outer end of the carrier frame firmly to the left and right. The car’s suspension should compress slightly, but the metal shank must show zero independent wobble inside the receiver opening.
Next, sit in the driver seat and put the vehicle into Reverse. The rear backup camera should show the lower rack base clearly. If Trailer Mode is active, the touchscreen displays a blue trailer icon and silences rear ultrasonic sensors; if Trailer Mode is off, you’ll see a red distance warning on your screen, which is normal when a rack blocks the sensors. For full software guidance on how cargo weight affects your car, consult the official Tesla Model Y Owner’s Manual hitch section.
If something goes wrong
| What happened | Why | What to do |
|---|---|---|
| Hitch cover won’t release | Clips stuck on road grime | Spray warm soapy water and pry gently |
| Pin holes don’t line up | Shank stopped on internal weld | Pull rack outward five millimeters to align |
| Rack rocks side to side | Anti-rattle bolt left loose | Tighten threaded bolt with heavy socket wrench |
| Screen sounds loud chime in reverse | Rear proximity sensors detect rack | Turn on Trailer Mode in car settings |
| Trunk lid hits bike wheel | Bike mounted too close to car | Tilt rack down or adjust wheel trays |
How often to do this
Remove the bike rack whenever you plan not to carry bikes for more than two weeks. Leaving the carrier attached adds aerodynamic drag, which lowers your battery range on long highway trips by roughly ten to twenty percent. The two factors that change this frequency are seasonal weather and driving speed. If you drive on salted winter roads, pull the rack off weekly and rinse the receiver tube so metal parts don’t rust together. If you only take local trips at slow speeds, you can leave it mounted longer without severe range loss.
Frequently asked questions
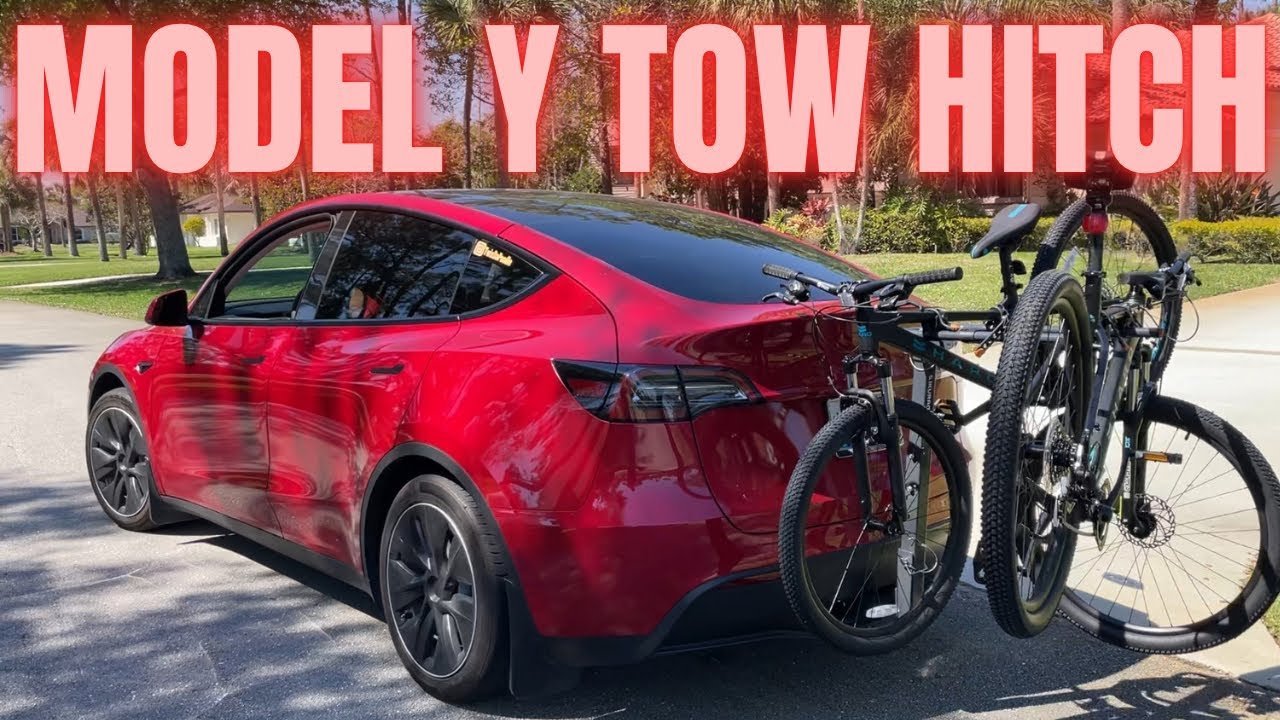
Can I open the Tesla trunk with bikes mounted on the rack?
Yes, if your bike rack has a built-in foot-release tilt mechanism. Lower the rack frame away from the vehicle bumper before touching your trunk button. If your rack doesn’t tilt downward, the power liftgate detects an obstruction, stops moving, and reverses to prevent paint damage.
Will a hitch bike rack reduce my Tesla driving range?
Yes, you’ll see your battery consumption increase between 10% and 25% at highway speeds. A hitch rack causes less wind resistance than carrying bikes on roof glass, but the extra rear turbulence still pulls energy. If range matters for a long trip, keep highway speeds under 65 mph.
What is the maximum weight a Tesla hitch can hold?
About 120 to 160 pounds for vertical tongue weight on standard consumer models. This varies by model — check the label on your specific hitch frame. A mistake people actually make is loading two heavy electric bikes totaling 150 pounds onto an unrated rack; this bends the mounting hardware and voids warranty coverage.
Why does my Tesla alarm go off after installing the rack?
Because Sentry Mode detected movement near the bumper while you worked. If the alarm sounds, tap your touchscreen or open your Tesla phone app to dismiss the alert. Turn off both Sentry Mode and Cabin Overheat Protection while loading bikes to avoid surprise honking.
Do I need a 1.25-inch or 2-inch bike rack for a Tesla?
A 2-inch rack is required for the factory hitch receiver on Model Y and Model X. If you already own a 1.25-inch carrier, don’t use an extension adapter if you can avoid it; adapters push the weight further back, which cuts your tongue weight capacity roughly in half.
Is it safe to run a Tesla through a car wash with the rack installed?
No, never drive into an automatic car wash with any rear bike rack attached. The large rotating wash brushes will catch the rack arms, bending the metal carrier and denting the rear liftgate. Always remove the rack and reinstall the plastic bumper cover before washing.
Final Thoughts
Once your gear is locked in, take a short drive around your neighborhood to make sure everything feels stable. Don’t forget to double-check the straps before you head out on the highway. You’ll have a great time hitting the trails, so enjoy the ride and stay safe out there!