
Ready to transform your DIY epoxy table from a beautiful slab into a functional masterpiece? You’ve poured your heart (and a lot of resin!)
Into creating that stunning tabletop. Now comes the exciting part: attaching the legs! This is where your creation truly comes to life, ready to be the centerpiece of your dining room, office, or living space. But how do you ensure those legs are attached securely and look fantastic?
Don’t worry, we’ve got you covered. This guide will walk you through everything you need to know to attach legs to your epoxy table with confidence, making sure your hard work stands tall and proud for years to come. Let’s get started!
Choosing The Right Legs
Choosing the right legs is crucial. It impacts your epoxy table’s look. It also affects its strength. This step ensures a stable, beautiful piece. Let’s explore your options.
Leg Styles And Materials
Legs come in many styles. You can find hairpin legs. Metal legs are popular. Wooden legs offer warmth. Consider industrial pipe legs. Sleek modern designs exist. Each material has unique qualities. Metal is strong and durable. Wood adds natural beauty. Choose what fits your style.
Weight Capacity Considerations
Your table needs strong support. Think about what you will place. Heavy items need robust legs. Check the leg’s weight limit. Ensure it exceeds your needs. Undersized legs can fail. This creates a safety hazard. Do not overlook this detail. Strong legs mean a secure table.
Aesthetics And Table Design
Legs complete your table’s look. They should complement the epoxy. Consider the overall design. Do you want a modern feel? Rustic legs might be better. Sleek metal legs suit modern styles. Chunky wood legs fit rustic designs. The leg color matters too. Black legs offer a bold contrast. Natural wood tones blend well. Let the legs enhance your art.
Preparation Is Key
Preparation is key. This step ensures a strong bond. It prevents future problems. Your epoxy table will look great. Take your time here. It is worth the effort.
Gathering Your Tools
Collect all needed items. Have everything ready. This makes the process smooth. You will need a drill. Get the right drill bits. Screws are important. Choose strong ones. A tape measure is essential. Pencils help mark. Safety glasses protect your eyes. Gloves keep hands clean. Sandpaper is necessary. Use different grits. A clean cloth is useful. Wipe away dust. Your chosen legs are vital. Ensure they fit well.
Measuring And Marking
Measure twice, drill once. This old saying holds true. Position the legs carefully. They must be even. Use your tape measure. Mark the exact spots. Use a pencil for clarity. Ensure symmetry. The legs should look balanced. This affects stability. Double-check all marks. A slight error causes issues. Get it right the first time.
Surface Preparation For Adhesion
Clean surfaces stick best. The table underside needs cleaning. Remove all dust and debris. Use a clean cloth. Wipe it thoroughly. If needed, use a tack cloth. Sand the attachment area lightly. This creates a rougher surface. Adhesive grips better. Wipe away sanding dust. Ensure the area is perfectly dry. A clean surface is crucial. This ensures a solid connection.
Attachment Methods
Attaching legs securely is vital. This ensures your epoxy table is stable. Several methods work well. Each has its own advantages. Let’s explore these attachment options.
Direct Screw Attachment
This is a simple method. You screw legs directly on. Use strong wood screws. Drill pilot holes first. This prevents wood splitting. Ensure screws are long enough. They should go deep into the table base. This provides a firm hold.
Using Mounting Plates
Mounting plates offer more security. They are metal plates. Attach these plates to the table. Then attach legs to the plates. This distributes the weight. Screws go into the plates. Plates are then screwed down. This is a very strong connection.
Epoxy Resin Adhesion Techniques
Epoxy resin itself can bond. You can use epoxy as glue. This works for certain leg types. Apply a generous amount. Press the leg firmly. Let the epoxy cure fully. This creates a strong bond. It looks very clean. No visible hardware is needed.
Reinforcing With Brackets
Brackets add extra support. They are often L-shaped. Place brackets in corners. Screw them into the table. Screw them into the leg. This reinforces the joint. It prevents wobbling. It adds long-term durability.
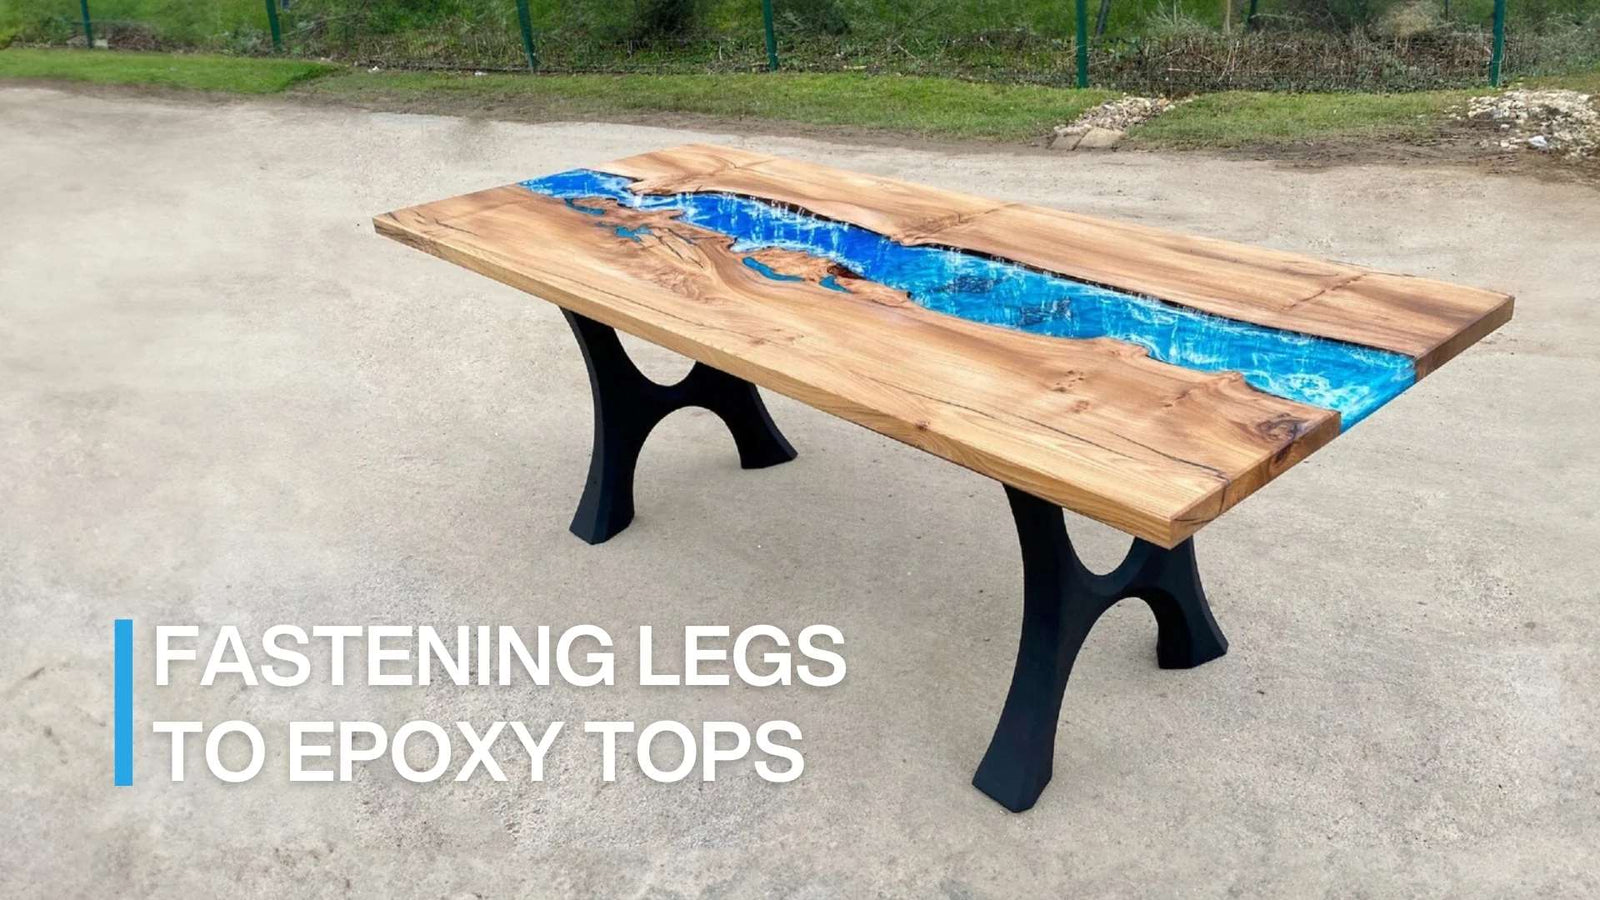
Credit: flowyline.com
Securing The Legs
Securing the legs is a crucial step. It ensures your beautiful epoxy table is safe. A wobbly table is disappointing. Strong legs make a table last. This part needs care. Let’s make your table sturdy.
Tightening Screws Properly
Use the right screws. They must fit the leg hardware. Do not overtighten screws. This can strip the wood. It can damage the metal. Tighten them firmly. They should feel snug. A screwdriver works well. Power drills can strip screws. Use a manual screwdriver. Turn it until it stops. The leg should not move.
Ensuring A Level Surface
The floor matters. Place the table on a flat floor. Check for wobbles. If it wobbles, adjust. Some legs have levelers. Turn the leveler feet. This raises or lowers the leg. Make small adjustments. The table should sit flat. A spirit level helps greatly. Place it on the tabletop. Check in several spots. Ensure no side is higher. A level table looks best.
Testing For Stability
Now, test the table. Gently push on the top. Does it rock back and forth? Push each side. The table should feel solid. It should not sway. Apply a little weight. Place a book on the table. Does it hold steady? This confirms secure legs. Your table is ready now. Enjoy your new furniture.
Finishing Touches
The final steps transform your epoxy table. These finishing touches make it functional. They also enhance its beauty. Pay attention to these details. Your table will look professional. It will also last longer.
Concealing Hardware
Hide your screws. Use wood filler. Match the filler color. Sand it smooth. This creates a clean look. No metal shows. It looks seamless.
Adding Protective Feet
Protect your floor. Add felt pads. Or use rubber feet. Screw them on. They prevent scratches. They stop wobbles. Your table stays stable. Your floor stays safe.
Final Inspection
Check everything now. Ensure legs are secure. Test the table’s stability. Look for any flaws. Polish the tabletop. Admire your work. Your epoxy table is ready.

Credit: www.youtube.com
Troubleshooting Common Issues
Legs not attaching right? Don’t worry. We’ll fix wobbly connections. Learn simple steps for a sturdy epoxy table.
Building your dream epoxy table is rewarding. Sometimes, problems pop up. Don’t worry. We can fix them. This section helps you solve common attachment problems. Get your table stable and perfect.Wobbly Table Solutions
Your table wobbles. This is frustrating. Check leg attachment points. Ensure all screws are tight. Sometimes, legs are not level. Add shims under short legs. Small wood pieces work well. Felt pads can also help. Adjust them until the table is steady. A stable table feels much better.Repairing Stripped Holes
Holes get stripped. This means screws won’t grip. Wood filler can fix this. Pack it firmly into the hole. Let it dry completely. Drill a new pilot hole. Do this carefully. Use a slightly larger screw. This gives better grip. Toothpicks can also work. Insert them into the hole. Break off excess. Then screw into the toothpick.Addressing Uneven Surfaces
The floor is uneven. Your table looks crooked. Legs might sit at angles. Adjust leg levelers. Most table legs have these. Turn them to raise or lower. Find the right height. Make sure all legs touch. The table should stand firm. Check for wobbles again. Small adjustments make a big difference.
Credit: www.youtube.com
Frequently Asked Questions
What Are The Best Legs For Epoxy Tables?
Choose legs made of sturdy materials like metal or solid wood. Ensure they match your table’s style and weight. Consider the leg’s intended load capacity.
How Do I Prepare My Epoxy Table For Legs?
Make sure the table surface is clean and smooth. Lightly sand the attachment area for better grip. Remove any dust or debris before proceeding.
What Tools Do I Need To Attach Table Legs?
You will need a drill, screws, and a screwdriver. A tape measure is also helpful for placement. Safety glasses are essential for protection.
Can I Use Wood Screws For Epoxy Table Legs?
Yes, wood screws work well for most wooden legs. For metal legs, you might need machine screws. Always use screws that are long enough.
How Do I Ensure Legs Are Straight And Stable?
Measure carefully to get equal leg placement. Use a level to check for straightness. Tighten all screws firmly for stability.
What If My Epoxy Table Is Very Heavy?
Use strong, heavy-duty legs designed for weight. Consider legs with a wider base for better support. Ensure the attachment method is robust.
How To Attach Hairpin Legs To Epoxy Table?
Position the hairpin legs where you want them. Mark the screw holes with a pencil. Drill pilot holes and then secure with screws.
Conclusion
Attaching legs makes your table ready. You have a beautiful, sturdy piece. Enjoy your new epoxy table. It’s a functional art piece. Build with confidence. Your project is complete.