
How to wire a dirt bike involves creating a standalone loop that runs power from your stator or battery through a fuse to your switches and lights, a process that takes two to four hours using 16 AWG marine-grade wire and waterproof connectors. This method suits trail riders adding basic lighting to kickstart or electric-start off-road machines.
Tools for wiring your dirt bike
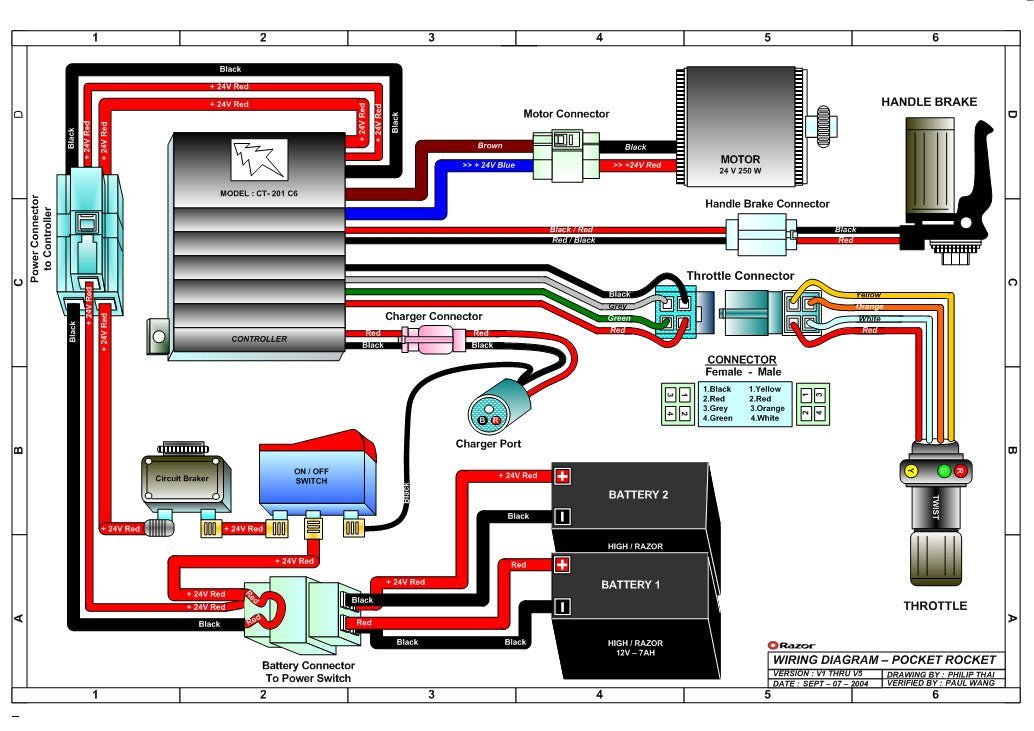
- 16 AWG multi-strand copper automotive or marine-grade wire (red, black, and yellow). Thin household wire will crack under engine vibration.
- Inline fuse holder with an automotive blade fuse (typically 5A to 10A depending on light draw).
- Waterproof heat-shrink butt connectors (marine grade with adhesive lining).
- Ratcheting wire crimper designed for insulated terminals.
- Wire stripper sized for 10 to 20 AWG.
- Heat gun or butane mini-torch for sealing shrink tubing.
- Zip ties (UV-resistant nylon) and split-loom tubing (1/4-inch to 3/8-inch).
You can substitute heavy-duty marine heat-shrink tubing over soldered joints instead of butt connectors, but twist-on wire nuts will fail immediately from chassis vibration.
Step-by-step
- Disconnect the negative battery terminal, or locate the factory stator output wires on a kickstart model before touching any electrical parts.
- Mount your accessories (headlight, kill switch, and taillight) securely to the handlebars and frame tabs using their factory mounting bolts.
- Install an inline fuse holder within 4 inches of your battery positive terminal or regulator/rectifier DC output wire. If you run a single 20-watt LED light, use a 5A blade fuse; if you run a dual headlight and horn setup, step up to a 10A fuse.
- Run your main positive lead from the fuse holder along the spine of the frame inside split-loom tubing toward your handlebar switch.
- Crimp your power lead into the switch input wire using an adhesive heat-shrink butt connector, then crimp the switch output wire to your headlight positive wire. Tip: Strip exactly 1/4 inch of insulation off each wire end so no bare copper sticks out past the connector barrel.
- Fasten your accessory ground wire directly to the battery negative terminal or the engine’s main ground lug to ensure a reliable return path. Careful: Scraping frame paint away is vital here because powder coating blocks current and creates an open circuit.
- Turn the handlebars fully from left to right lock, leaving about 2 inches of slack around the steering head so wires don’t pull tight.
- Reconnect the battery or kick the engine over, then flip the handlebar switch to verify the light turns on.
- Shrink all connector sleeves using your heat gun set to 750°F until you see clear sealant squeeze out the ends, then secure the harness with zip ties every 6 inches.
Electrical setups by bike type
Different dirt bike platforms require distinct electrical paths depending on their starting hardware and factory charging systems.
| Bike setup | Typical install time | Main wiring difference | What to monitor during testing |
|---|---|---|---|
| Modern 4-stroke with battery | 1.5 to 2 hours | Direct battery connection with fused lead | Battery drain when key or switch is left off |
| Modern 2-stroke trail bike | 2 to 3 hours | Runs power through factory lighting coil | Light dimming during slow engine idle |
| Vintage kickstart MX bike | 3 to 4 hours | Requires lighting stator and AC regulator | Bulb burn-out caused by unregulated voltage spikes |
| Street-legal conversion | 4 to 6 hours | Requires brake pressure switches and flasher relay | Blinker flash rate and brake switch mechanical clearance |
Running one light first keeps troubleshooting simple, whereas attempting a complete street-legal conversion on your first try makes tracing short circuits far harder.
How to tell you did it right
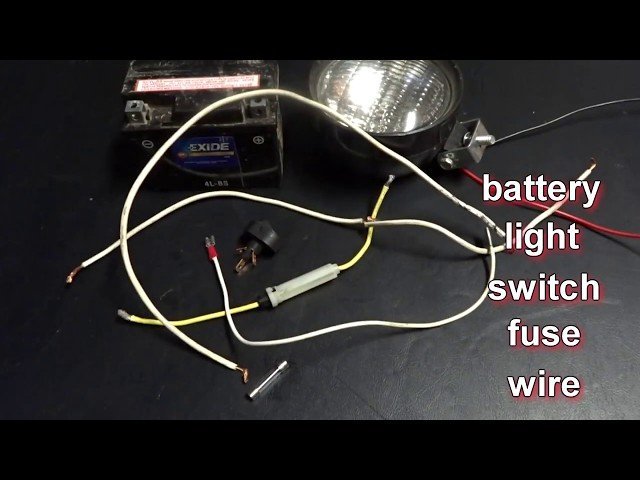
A clean installation features tight, sealed connections hidden inside split loom that stays loose when the handlebars swing fully from stop to stop. The light beam stays steady without flickering when you shake the harness by hand. A poor installation shows drooping wires, exposed copper, and loose electrical tape wrapping. Flickering lights almost always happen because an unsealed ground bolt loosens or corrodes against bare metal. You can prevent this failure by using star washers on your ground terminals, wiping the bare metal with dielectric grease, and using heat-shrink connectors with internal meltable glue.
Street laws and post-install checks
If you ride on public roads, your lighting must meet federal vehicle standards established by the National Highway Traffic Safety Administration under FMVSS Standard No. 108 for motorcycle illumination and reflectors.
Once your harness is connected, clear away clipped wire insulation, coil your spare wire, and label each circuit with colored tape behind the headlight mask. Store your wiring diagram in your toolbox. A properly crimped and sealed harness lasts the life of the machine, but you should inspect wire routing around the steering head every season for signs of rubbing. If you plan to register a closed-course motocross bike for highway use, check your state DMV rules first, as some regions strictly forbid converting off-road titles.
Custom harness options
Prefabricated wiring kits
Plug-and-play lighting harnesses include premade switchgear, relays, and fitted connectors. This cuts assembly time down to about one hour, but costs substantially more than buying bulk wire and components.
Total-loss battery system
You run an independent rechargeable lithium battery pack under the seat without tapping into the bike’s engine stator. This eliminates stator modifications completely, but limits riding time to a few hours before you must recharge the pack indoors.
Professional shop install
A motorcycle mechanic builds a harness directly tied into upgraded stator windings. This route gives factory-level reliability and guarantees street inspection approval, but requires scheduling shop time and paying professional labor rates.
Frequently asked questions
Can I wire lights to a dirt bike without a battery?
Yes, if your engine has a lighting coil on the stator. You must run the power wire through an AC voltage regulator or a regulator/rectifier so the raw stator power doesn’t blow your bulbs when you rev the engine.
Why do my LED lights flicker on a dirt bike?
LED lights flicker because single-phase stators produce alternating current pulses at low engine speeds. Installing a regulator/rectifier and a small capacitor smooths out the electrical current into clean direct current, stopping the flicker instantly.
Is it safe to ground accessories directly to the bike frame?
No, you should run a dedicated ground wire back to the battery negative terminal or the engine’s main ground point to avoid intermittent connections.
What happens if I wire lights without an inline fuse?
A pinched wire will short out against the steel chassis without a fuse. This creates immediate heat along the harness, melting wire insulation, draining your battery, and potentially starting a plastic fire near the fuel tank.
How long does a dirt bike stator take to charge a small battery?
Final Thoughts
Once your connections are secure, double-check that every wire is tucked away from hot exhaust pipes and moving suspension parts. Use plenty of zip ties to keep things tidy so they don’t snag on branches during your next ride. You’ll be glad you took the extra time when you’re out on the trails.