
You can learn how to setup a mobility scooter in about 30 to 45 minutes from opening the crate to your first test drive. It costs nothing beyond the purchase price because standard tools come in the box. The assembly effort needs care due to heavy battery packs, and you’ll need a flat, clear indoor space before you begin unboxing.
Tools for your mobility scooter setup
| Item | How much | Why it’s needed | A substitute |
|---|---|---|---|
| Box cutter | 1 piece | Cuts shipping straps and cardboard | Heavy utility shears |
| Floor mat | 1 piece | Protects flooring from scratches | Thick flattened cardboard box |
| Hex key set | 1 set | Tightens tiller and armrest bolts | Included manufacturer toolkit |
| Crescent wrench | 1 piece | Secures seat hardware and mirror | Adjustable household pliers |
| Wall outlet | 1 standard | Delivers initial battery charge | none — don’t swap this |
| Helper | 1 person | Lifts heavy drive unit safely | none — don’t swap this |
Before you start
- Clear a workspace measuring at least 6 by 8 feet so you have room to move large parts around the frame.
- Switch off any nearby space heaters and keep packing plastic away from pets and small children.
- Move the shipping carton directly into your assembly space before opening it to avoid carrying loose components through narrow doorways.
- Unpack every component onto your floor mat and match each item against the included manual’s packing sheet.
- The main preparation people skip is checking for transit damage on wiring harness plugs, which stops the unit from turning on later.
This assembly guide isn’t for full-size, covered cabin scooters or heavy bariatric models that arrive fully crated on pallets; contact a certified medical mobility technician for those setups.
Step by step
- Cut the box straps with your box cutter, slit the tape along the top seams, and fold down the outer cardboard walls flat.
- Lift the tiller assembly upward until the folding joint clicks into place, then tighten the locking knob clockwise until it stops turning completely.
- Slide the front chassis and rear chassis together along the center locking pins, pressing down firmly until you hear the frame latch snap shut.
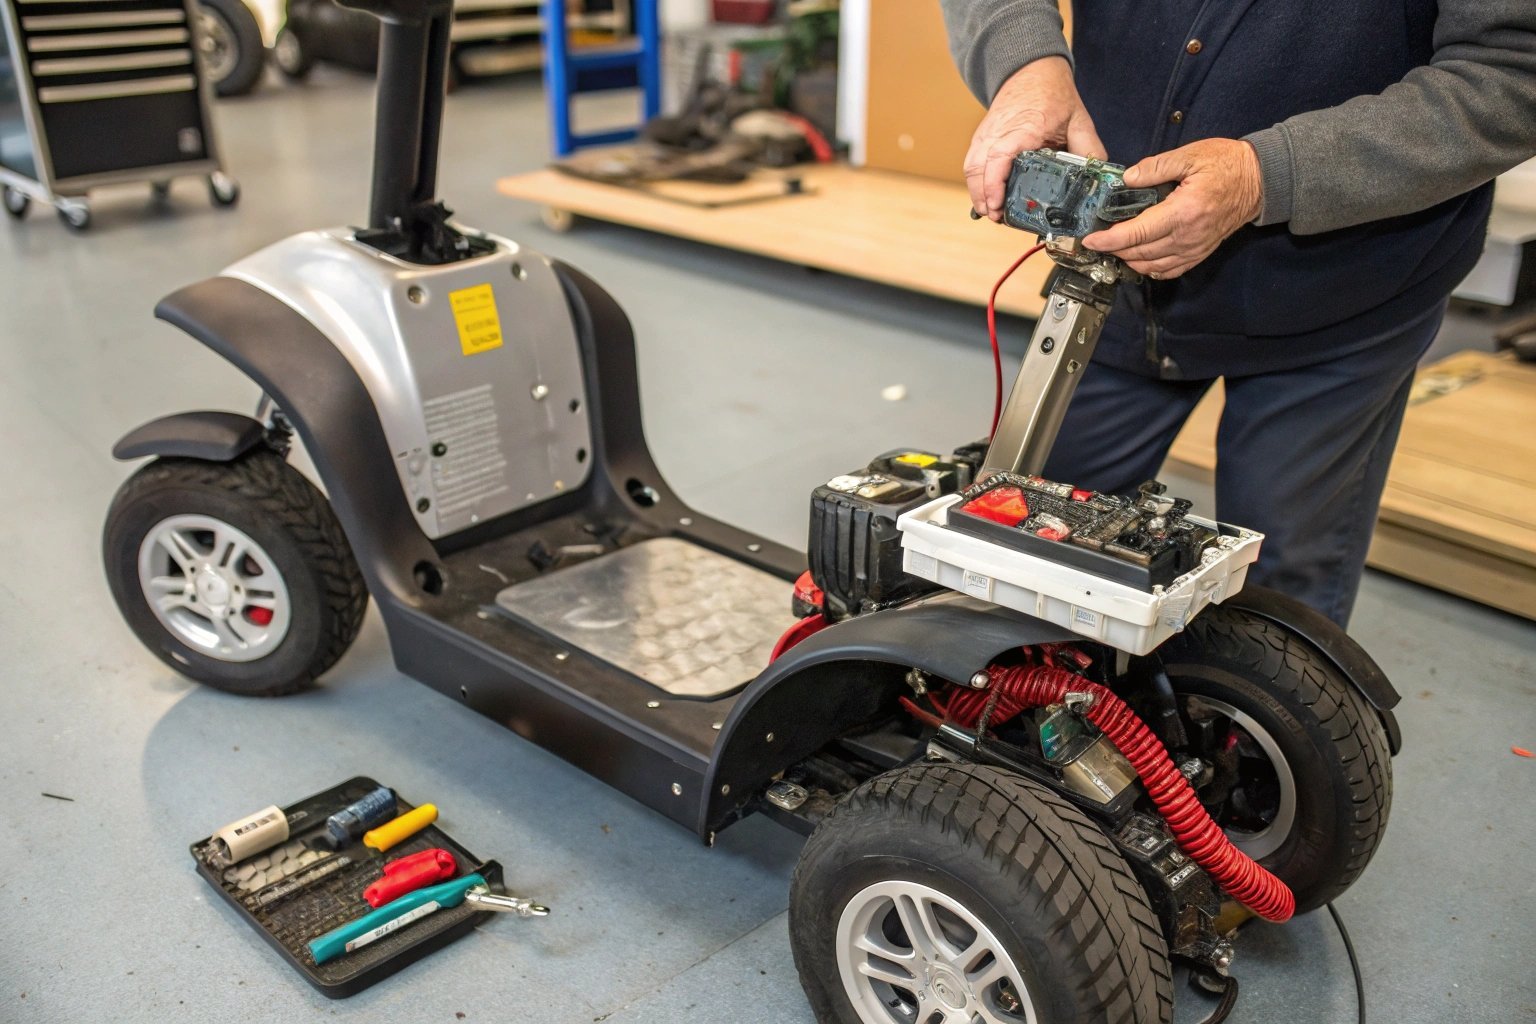
- Lower the battery pack straight down into the chassis well until the brass terminal prongs slide fully home into their matching receiver sockets.
- Place the seat post into the central frame tube, line up the height holes, and insert the steel locking pin through the frame.
- Push the seat assembly down onto the seat post until the swivel mechanism clicks, confirming the seat can’t turn freely without the lever pulled.
- Insert the left and right armrests into the rear seat receiver tubes and tighten the underside star knobs by turning them clockwise until firm.
- Plug the console data cable into the chassis harness, aligning the internal plastic guide notch before twisting the locking ring closed.
- Locate the yellow freewheel lever near the right rear wheel and push it downward into the drive position so the motor brake engages.
- Connect the battery charger to the scooter charging port, plug the wall plug into a grounded socket, and wait for the light to show green.
How to know it worked
Turn the key switch clockwise to test the electrical connection. The battery gauge needle or LED display will light up within two seconds, showing a full green band. Push the throttle lever forward gently while indoors. The scooter should roll smoothly without squealing, and releasing the lever must bring the unit to a complete stop within three feet.
Listen for the electromagnetic brake. It produces a clear, metallic click the moment the throttle returns to neutral. If the console lights blink continuously in a repeating pattern or the scooter pushes easily by hand with the key on, you need a second check; the freewheel lever is still disengaged or a battery plug is loose.
If something goes wrong
| What happened | Why | What to do |
|---|---|---|
| Key turns but nothing lights | Battery contacts missed connection | Reseat battery pack into tray |
| Console flashes code light | Freewheel lever in neutral | Push lever into drive position |
| Tiller wobbles during steering | Locking collar left loose | Turn collar knob fully clockwise |
| Seat rocks back and forth | Height pin not seated through | Push pin through both holes |
| Charger light stays red long | Deep initial cell balance cycle | Leave connected up to twelve hours |
| Motor clicks but no travel | Speed knob at minimum setting | Turn speed dial past half mark |
How often to do this
A full mechanical setup happens once when you unbox the scooter. If you take the unit apart for car trunk travel, you’ll perform the chassis latching and seat steps on every trip. Frequent travel acts as a trade-off: portable models assemble faster, but daily unlatching causes hardware to loosen over time. Inspect the tiller lock, armrest knobs, and chassis latch tightness regularly under normal daily use. The two things that change this schedule most are the rider’s body weight and rough outdoor surfaces like gravel paths, which vibrate fasteners loose much faster than smooth indoor floors.
Frequently asked questions

Can I set up a mobility scooter completely alone?
If you can lift 45 pounds safely, yes; if you have physical limitations, call a helper. Rear drive units and battery boxes are heavy and awkward. Dropping a battery pack can crack its plastic casing and void your warranty, which costs hundreds of dollars to replace.
How long does the first battery charge take?
About 8 to 12 hours for the initial setup charge on standard sealed lead-acid batteries. For powered device standards, the FDA medical device mobility guidance notes that proper initial charging protects long-term battery performance and patient safety.
Is it safe to drive with the freewheel lever pushed down?
Yes, pushing the lever down engages the electric drive motor and the automatic safety brake. You only pull the lever up into neutral when the scooter runs out of power and you must push it manually by hand. The scooter won’t drive electronically while in neutral.
Why won’t the scooter move when the key is on?
The freewheel lever is likely in neutral, or the speed knob is set too low. Switch the scooter key off, push the rear freewheel lever into the drive position, turn the speed knob clockwise halfway, and turn the key back on to clear the safety lock.
Does it matter if I assemble the seat before the battery?
Yes, you must install the battery before setting the seat onto the post. The battery sits directly underneath the seat base on most portable models. Installing the seat first blocks your access to the battery well and forces you to pull the seat off again.
What happens if I lose the seat locking pin?
The seat post will slip to its lowest height and spin without control during turns. Don’t use temporary hardware like bent wire or small screwdrivers. This varies by model — check the label on your frame or contact the maker to order the exact replacement steel pin.
Final Thoughts
Once everything is tightened and secure, take a moment to charge the battery fully before your first trip. Don’t rush your initial ride; practice turning and braking in a quiet hallway or driveway. You’ll feel much more confident once you’ve spent a little time getting comfortable with the controls.