
Identify Scratch Severity
First, assess the scratch depth. Light scratches sit on the surface. Deep scratches go through the wear layer. This guides your repair choice.
First, you must check the scratch. This guides your repair. Not all scratches need the same fix. Understanding the damage is key.Surface-level Scuffs
These are light marks. They sit on the top layer. You might see them in bright light. They don’t go through the finish. A simple cleaning often helps. Sometimes a soft cloth works. These are the easiest to fix.Deeper Gouges
These scratches are serious. They cut into the flooring material. You can feel them with your finger. They go beyond the wear layer. These need more than just cleaning. You will need a repair kit. Some gouges may need replacement. Assess the depth carefully.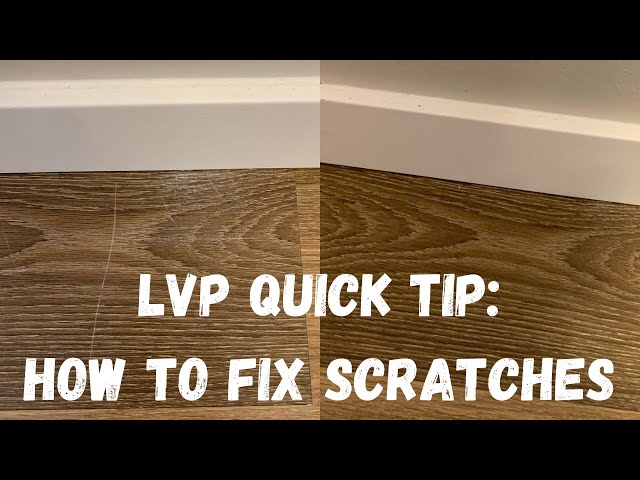
Credit: www.youtube.com
Gather Your Supplies
Gathering your supplies is the first step. It ensures you are ready. You will fix scratches easily. Having everything on hand saves time. It makes the repair process smooth. You avoid interruptions. This preparation is key.
Cleaning Agents
Start with a clean floor. Dirt makes scratches worse. Use a pH-neutral cleaner. A soft cloth works well. Avoid harsh chemicals. They can damage LVP. Wipe the area gently. Let it dry completely. Cleanliness is crucial.
Repair Kits
LVP scratch repair kits exist. They contain matching colors. Some kits have fillers. Others use pens. Choose a kit for your floor. Match the color precisely. This hides the damage. Follow kit instructions carefully. The right kit makes a difference.
Polishing Tools
You might need polishing tools. A soft microfiber cloth is good. A buffing pad can help. It brings back shine. Use gentle pressure. Over-polishing can harm. Restore the floor’s luster. These tools finish the job.
Clean The Damaged Area
First, clean the damaged area. Remove all dirt and debris. A clean surface is key.
Before you fix scratches, clean the spot. Dirt can make scratches worse. A clean area helps you see the damage clearly. This step is very important.Remove Debris
First, sweep the area. Get rid of all loose dirt. Dust bunnies hide in corners. Small pebbles can scratch more. Use a soft broom. A vacuum cleaner works too. Make sure the brush is soft. Remove everything from the scratch.Gentle Cleaning Method
Now, use a damp cloth. Do not soak the floor. A little water is enough. You can use a mild cleaner. Choose one made for LVP. Rub the scratch gently. Do not scrub hard. Scrubbing can cause more damage. Wipe away any cleaner residue. Dry the area completely. A clean surface is ready.Fix Light Scratches
Light scratches happen. Your LVP flooring looks dull. Don’t worry. You can fix them. These simple methods work. They restore your floor’s shine. Let’s get started.
Buffing Techniques
Buffing is your first step. Use a soft microfiber cloth. Gently rub the scratched area. Work in small circles. This action lifts the scratch. It brings back the sheen. You might need a buffing machine. Use a low speed setting. Always test in an unseen spot. This prevents accidental damage. Keep buffing until the scratch fades.
Using A Polish
A good LVP polish helps. It fills in minor marks. Choose a polish made for LVP. Apply a small amount to the cloth. Dab it onto the scratch. Spread it evenly. Let the polish dry completely. Follow the product’s instructions. Buff the area again lightly. The scratch should disappear. Your floor will look new again.
Repair Deeper Scratches
Deeper scratches need more attention. Use a repair kit for LVP. Fill the scratch carefully.
Deeper scratches need more attention. These marks go beyond the surface layer. They can mar the beauty of your LVP floor. Don’t despair. You can fix these too. The process is a bit more involved. It requires precision.Color-matching Fillers
Choose a filler carefully. It must match your floor color. Many repair kits are available. Look for a kit with multiple shades. You can mix them. This helps achieve a perfect match. Test the color first. Apply a small amount to an inconspicuous area. Let it dry. See if it blends well. A good match is crucial. It makes the repair invisible.Application Tips
Clean the scratch thoroughly. Remove all dirt and debris. Use a soft brush. A toothpick works well. Get into the scratch’s depth. Apply filler sparingly. Use a putty knife or a small spatula. Work the filler into the scratch. Press it down firmly. Ensure it fills the entire scratch. Avoid overfilling. Excess filler is hard to remove.Smoothing And Blending
Let the filler dry completely. Follow the product instructions. A damp cloth can smooth it. Gently wipe away excess filler. A plastic scraper can help too. Work carefully. You want a smooth surface. The repaired area should feel flush. It should blend with the surrounding floor. Patience is key here. The goal is a seamless look. Your floor will look its best.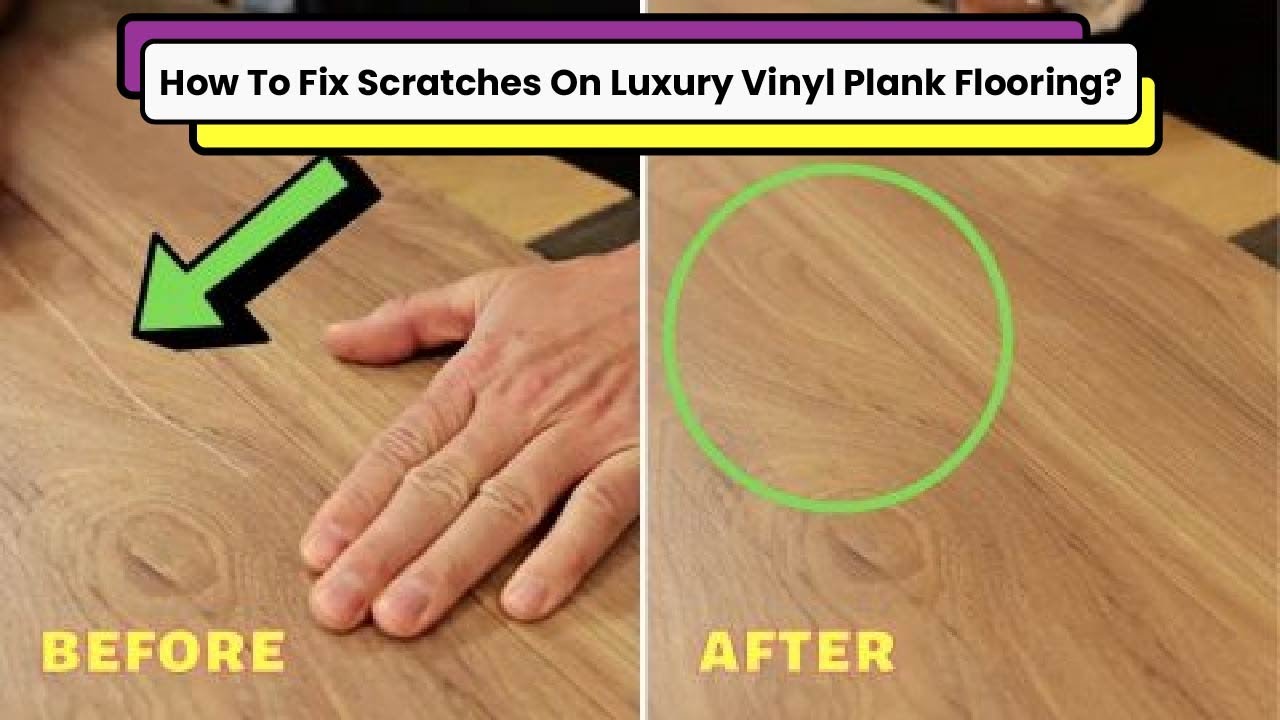
Credit: www.youtube.com
Camouflage With Touch-up Pens
Scratched LVP floors can be frustrating. Don’t despair. A simple touch-up pen can work wonders. This method is quick. It is also very effective for minor damage. Think of it as a magic wand for your floors. It hides those unsightly marks. You can restore your floor’s beauty. This is an easy DIY fix.
Choosing The Right Shade
Finding the perfect match is key. Look at your floor color. Hold the pen next to the scratch. Some pens offer multiple shades. Test them in a hidden spot first. This ensures a seamless blend. A good match makes the scratch disappear. It looks almost new again. Don’t rush this step. Patience pays off here.
Applying The Color
Clean the scratched area first. Remove any dust or debris. Shake the touch-up pen well. Apply a small amount of color. Use a light touch. You can always add more. Build up the color slowly. Let each layer dry a bit. Blend the edges carefully. Wipe away excess color immediately. A clean cloth works best. The scratch should now be invisible. Your floor looks much better.
Advanced Repair Options
Scratched Luxury Vinyl Plank (LVP) flooring can be frustrating. Simple fixes might not be enough for deep gouges. Advanced repair options offer more permanent solutions. These methods tackle tougher damage. They restore your floor’s appearance. Consider these when minor repairs fail.
Replacement Planks
Deep scratches need more. You may need to replace planks. This sounds difficult. It is manageable with the right approach. First, find matching planks. Check your leftover flooring. Manufacturers offer replacement pieces. You might need to order them. Carefully remove the damaged plank. Use a utility knife. Pry it up gently. A new plank slides in. Secure it with adhesive. Ensure it sits flush. This makes the floor look new.
Professional Help
Some scratches are too complex. You might not feel confident. Professional help is a good choice. Flooring specialists have experience. They know advanced techniques. They can assess the damage. They will recommend the best repair. Professionals have specialized tools. They can match colors perfectly. This ensures a seamless look. It saves you time and stress. Your floor will look its best.
Credit: www.youtube.com
Prevent Future Damage
Scratches on LVP flooring are common. Learn simple ways to fix them. Protecting your floors prevents future damage. Keep your LVP looking new.
Preventing scratches is key. LVP flooring looks great. Keep it that way. Simple steps help a lot. Protect your floors. Stop damage before it starts.