
Want to give your desk a fresh new look without a major overhaul? Wallpaper is a fantastic and surprisingly easy way to do it!
Forget boring beige or scratched laminate. Imagine a desk that truly reflects your style – maybe a bold geometric pattern, a calming botanical print, or even a chic faux wood finish. You might think wallpapering a desk sounds tricky, but it’s simpler than you imagine.
In this guide, we’ll walk you through every step, from choosing the right wallpaper to making it look professionally done. Get ready to transform your workspace into something you’ll absolutely love coming to every day.
Desk Wallpaper Prep
First, clean your desk surface. Remove any dust or grime. This ensures smooth wallpaper adhesion.
Proper desk wallpaper prep makes a big difference. It ensures a smooth, lasting finish. This step is crucial for a professional look. Don’t skip it.Gather Your Supplies
You need a few things. Get your chosen wallpaper. You also need a utility knife. A straight edge is helpful. A measuring tape is essential. You’ll want a smoothing tool. A damp cloth is good. Have a pencil ready.Clean And Repair Your Desk
Your desk must be clean. Dust and dirt ruin the look. Wipe it down thoroughly. Use a damp cloth. Let it dry completely. Check for any damage. Fill any holes or cracks. Sand down rough spots. A smooth surface is key.Measure And Cut Wallpaper
Measure your desk surface. Measure the height and width. Add a little extra for trimming. This is important. Mark your wallpaper. Use a pencil for marks. Cut the wallpaper carefully. Use your utility knife. Follow your straight edge. Make clean, straight cuts.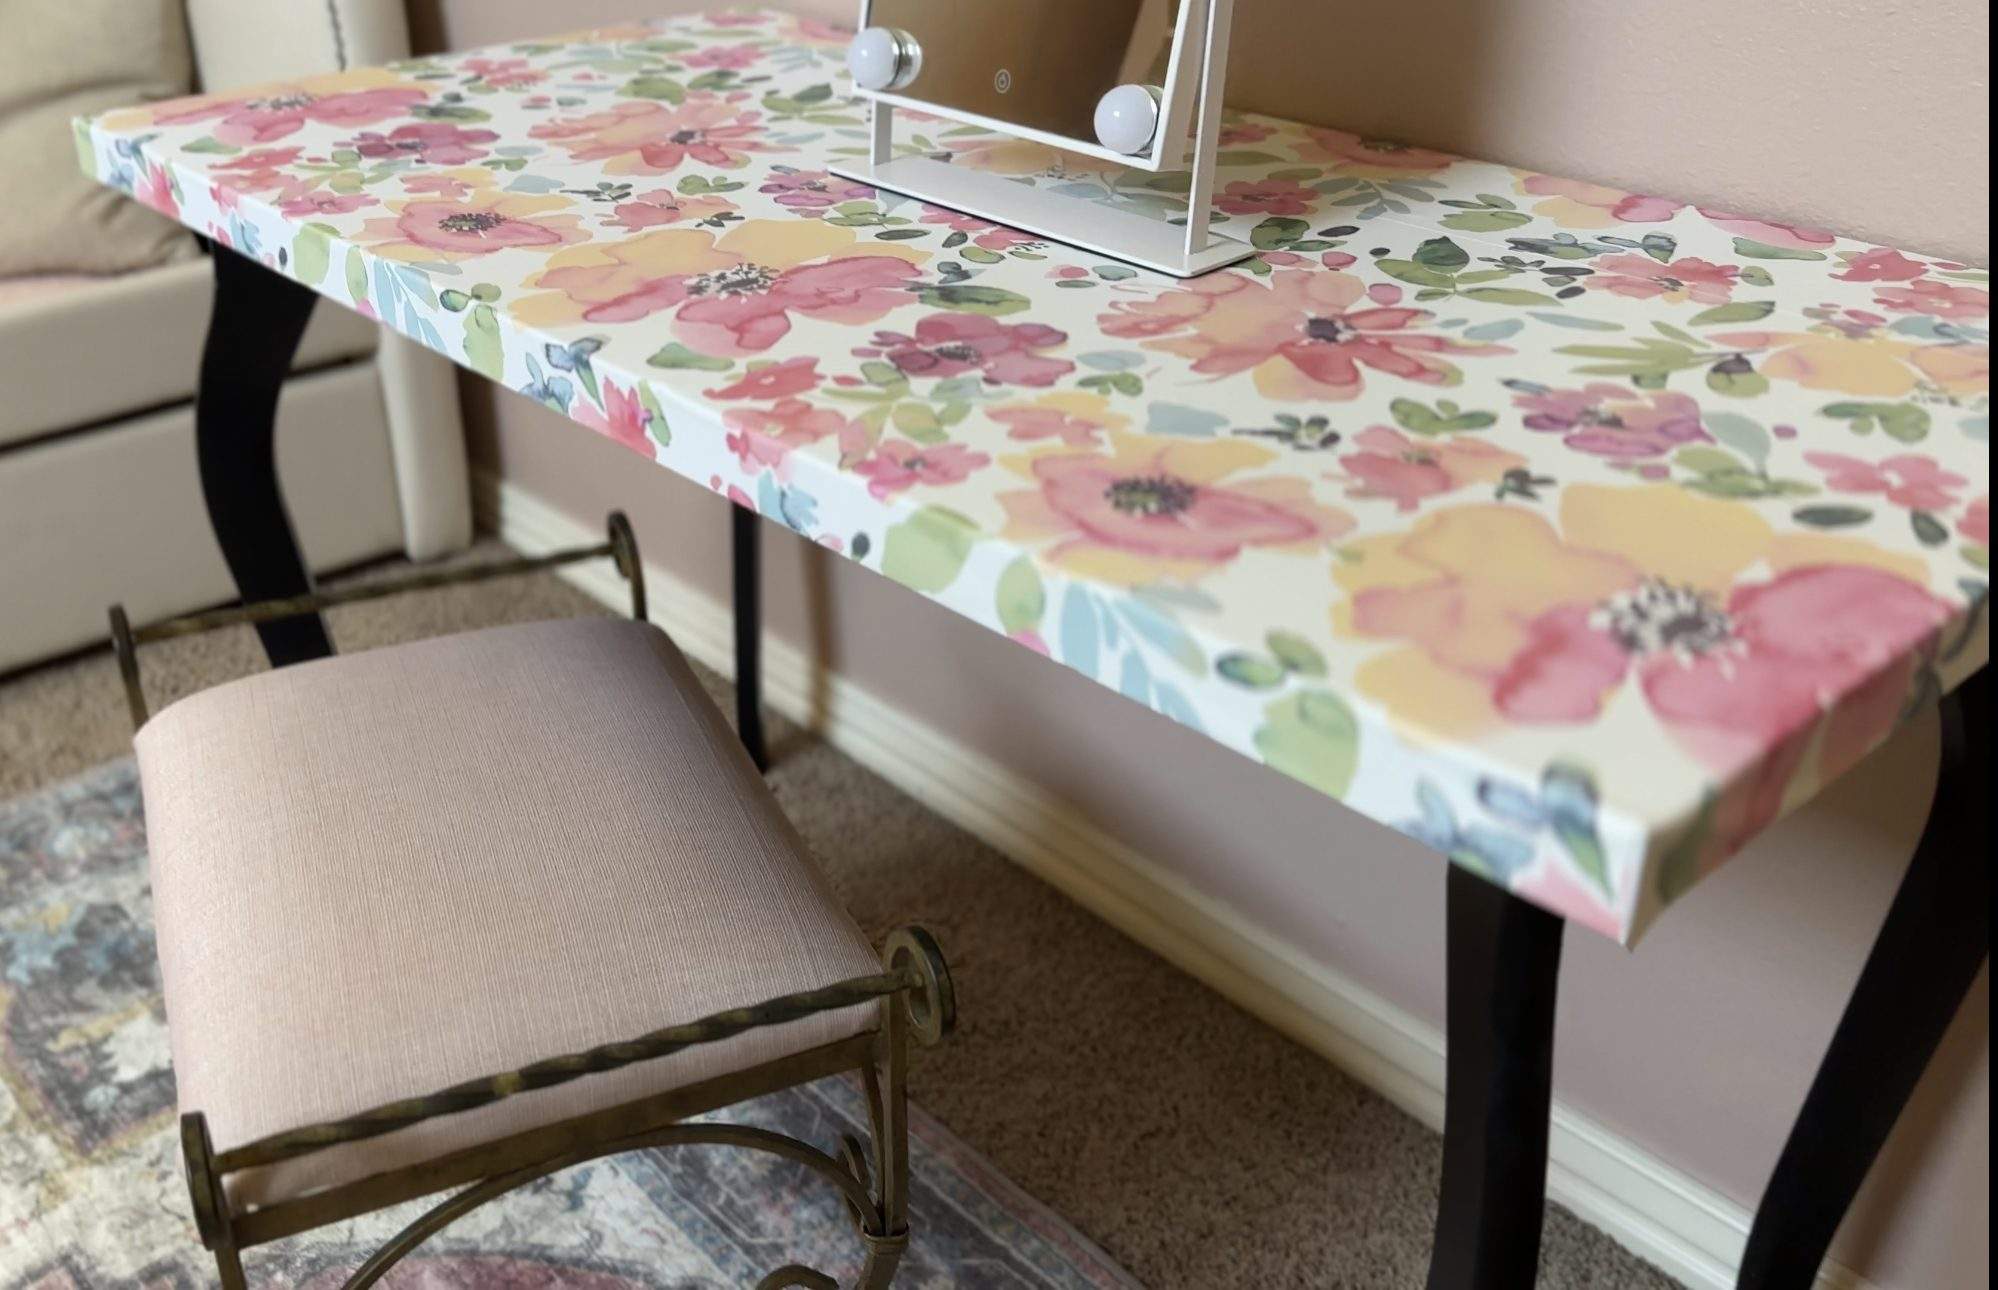
Credit: amysadlerdesigns.com
Applying The Wallpaper
Applying the wallpaper transforms your desk. This step brings your design to life. Careful application ensures a smooth finish. Your desk will look brand new. Take your time. It is worth the effort.
Start At A Corner
Peel back the wallpaper’s backing. Line up the edge with a desk corner. Press the wallpaper gently. This starts the adhesion process. Ensure a straight line. This is very important. A good start means success.
Smooth Out Bubbles
Use a smoothing tool. A plastic scraper works well. Start from the center. Move outward. Push out any trapped air. Work towards the edges. Smooth, smooth, smooth. No bubbles will be seen. This keeps the surface flat.
Trim Excess Wallpaper
Use a sharp utility knife. Carefully cut away extra paper. Follow the desk’s edge. Make clean, straight cuts. This creates a neat finish. Your desk edges look sharp. This step finishes the job.
Finishing Touches
You are almost done. The final steps bring it all together. These finishing touches make your desk shine. They also protect your hard work. Let’s complete this project.
Apply A Protective Sealant
Your wallpaper needs protection. A clear sealant works best. It guards against spills and scratches. It also makes cleaning easy. Use a water-based polyurethane. Apply it with a soft brush. Work in thin, even coats. Let each coat dry completely. Two to three coats are good. This keeps your desk looking new.
Reattach Hardware
Now, put back the hardware. This includes drawer pulls. It also means any knobs. Make sure they are secure. Screw them in firmly. They should feel sturdy. This step makes the desk functional. It also adds a nice detail. Your desk is ready for use.
Admire Your New Desk
Step back and take a look. Your desk transformation is complete. You covered it with wallpaper. It looks fresh and new. You did a fantastic job. Enjoy your beautiful desk. It’s a true reflection of you.

Credit: pngtree.com
Wallpapering Tips
Give your desk a fresh look. Covering a desk with wallpaper is simple. Choose a fun pattern. Measure carefully and cut your paper. Smooth it out for a clean finish.
Here are some wallpapering tips. These tips help your project. They ensure a smooth finish. You will love your new desk.Choosing The Right Wallpaper
Pick a durable wallpaper. Vinyl or laminate works well. It resists wear and tear. Consider the desk’s use. A busy workspace needs tough material. Patterns can hide small flaws. Bold prints make a statement. Subtle designs offer elegance. Measure your desk carefully. Buy extra wallpaper. You might need it for mistakes. Always check the wallpaper’s repeat. This helps match patterns.Dealing With Seams
Proper seam alignment is key. Overlap seams slightly. Use a sharp blade for cuts. A straight edge guides your blade. Smooth seams with a roller. This presses them flat. Avoid visible gaps. Clean up excess paste immediately. A damp cloth works best. Seams should be nearly invisible. Take your time here. Patience pays off.Wallpapering Curved Surfaces
Curved surfaces need extra care. You might need to cut small slits. This helps the paper lie flat. Gentle stretching is sometimes needed. Don’t pull too hard. This can distort the pattern. Use a flexible smoothing tool. This molds the paper to curves. Work slowly around corners. Small adjustments make a big difference.
Credit: walkolution.com
Frequently Asked Questions
What Wallpaper Is Best For Desks?
Choose durable, scrubbable wallpaper. Vinyl or washable paper works well. It resists stains and is easy to clean.
How Much Wallpaper Do I Need?
Measure your desk’s surface area. Add a little extra for mistakes. This ensures you have enough material.
Can I Use Peel-and-stick Wallpaper?
Yes, peel-and-stick is a great option. It is easy to apply and remove. This makes decorating simple and fun.
How Do I Prepare My Desk?
Clean the desk surface thoroughly. Make sure it is smooth and dry. This helps the wallpaper stick better.
How To Apply Wallpaper To A Desk?
Peel backing slowly as you go. Align the edges carefully. Smooth out any bubbles with a tool.
How To Make Wallpaper Last On A Desk?
Seal the edges with a clear coat. Use a durable sealant. This protects the paper from wear.
Can I Wallpaper Just The Desktop?
Yes, you can. Wallpapering only the top is common. It adds a focal point to your workspace.
Conclusion
Your desk transformation is complete. Wallpaper adds instant style. It’s a simple, affordable update. Enjoy your fresh workspace. Get creative with patterns. Your desk now looks amazing. It’s a DIY success.