

Credit: www.youtube.com
Why Clean Your Keyboard Cover?
Your keyboard cover shields your keys. It protects from dust and spills. A clean cover works best. It keeps your keyboard pristine.
Dirt builds up on covers. Crumbs can hide underneath. Germs can gather there too. Cleaning is important for hygiene. It ensures your keyboard stays nice.
Protecting Your Investment
Keyboard covers are useful. They extend keyboard life. A dirty cover can scratch keys. It might also affect typing. Regular cleaning prevents damage. Your keyboard stays like new.
Maintaining Optimal Performance
A clean cover feels better. It does not stick. Typing becomes smooth again. Dust can impede key presses. Spills can cause sticky keys. Cleaning restores smooth typing. Enjoy a responsive keyboard.
Preventing Germ Spread
Keyboards can be dirty. Covers can harbor germs. Regular cleaning kills these germs. It makes your workspace healthier. Protect yourself and others. A clean cover means clean hands.
Gather Your Cleaning Supplies
First, gather your cleaning supplies. You’ll need a soft cloth and some mild soap. A small brush can also be helpful.
This step is crucial. You need the right tools. Having them ready makes cleaning easy. It prevents interruptions. You will finish faster.Essential Cleaning Agents
You need mild soap. Dish soap works well. Avoid harsh chemicals. They can damage the cover. Isopropyl alcohol is another option. Use it sparingly.Soft Cleaning Cloths
Microfiber cloths are best. They are gentle. They do not scratch surfaces. Have at least two ready. One for washing. One for drying.Cotton Swabs
These are very useful. They reach tight spots. Get into crevices easily. They clean around keys. Use them for detail work.Water Source
You need clean water. A small bowl is fine. You can also use a spray bottle. Fill it with distilled water. Tap water has minerals. Minerals can leave spots.Optional Tools
A soft brush helps. It removes loose debris. A keyboard cleaning putty works too. It picks up dirt. It is good for sticky keys.Pre-clean Checks
Before you start cleaning your keyboard cover, take a moment. These small steps make a big difference. They ensure your cleaning is safe. It protects your keyboard too.
Disconnect Your Keyboard
Unplug your keyboard first. This is very important. It prevents accidental typing. It stops electrical damage. A simple unplugging is all it takes.
Remove The Cover
Gently lift the keyboard cover. Do not force it. Most covers are flexible. This makes them easy to remove. Set it aside carefully. Now it is ready for cleaning.
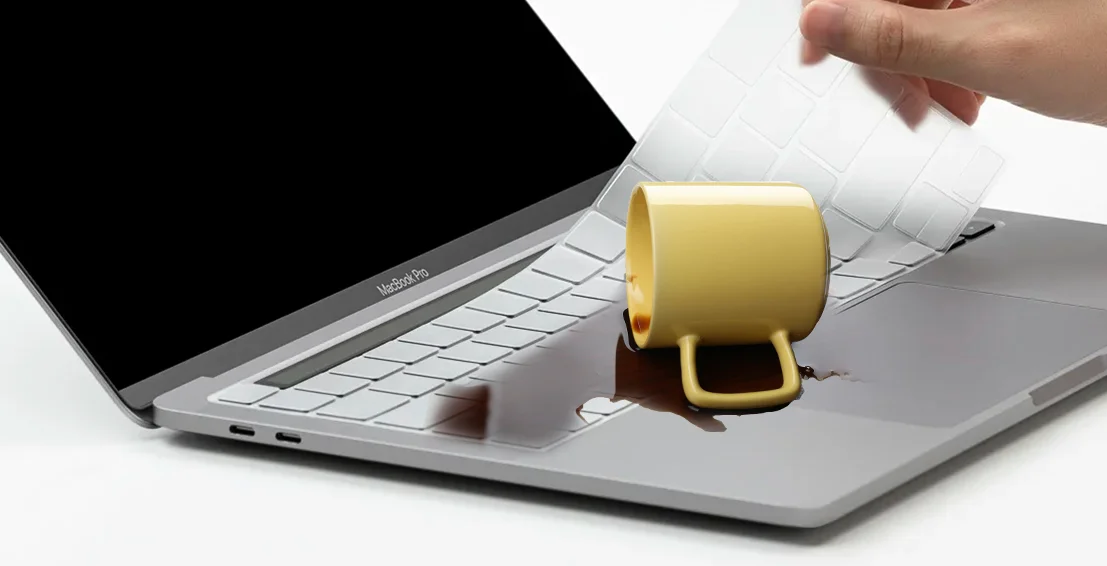
Credit: www.tvcmall.com
Cleaning Methods
Cleaning your keyboard cover keeps it looking good. It also helps it work properly. Different messes need different cleaning approaches. We will explore simple ways to clean. We will also cover tougher jobs.
Gentle Wipe-down
Start with a gentle wipe. Use a soft, dry cloth. This removes dust and loose dirt. A microfiber cloth works best. It won’t scratch the cover. Wipe regularly to prevent buildup. This is your first line of defense.
Tackling Stubborn Grime
For stuck-on dirt, use a damp cloth. Lightly dampen it with water. Wring out excess moisture well. Never soak the cover. Gently rub the dirty areas. The grime should lift away. Repeat as needed.
Deep Cleaning For Tough Stains
Stubborn stains might need more. Mix a tiny bit of mild soap. Use it with water. Dampen a cloth with this solution. Gently scrub the stain. Then, wipe with a clean, damp cloth. This removes soap residue. Let the cover air dry completely.
Sanitizing Your Cover
To kill germs, use a disinfectant wipe. Choose one safe for electronics. Gently wipe the entire cover. Ensure it is not too wet. Let it air dry fully. This keeps your keyboard clean. It also keeps it healthy.
Drying And Reapplication
Let the keyboard cover air dry completely. Ensure it’s totally dry before putting it back. This prevents damage and ensures a good fit.
Proper drying is vital. This prevents moisture damage. It also ensures a good fit. Reapplying your clean keyboard cover protects your device.Air Drying Is Key
Air drying is the best method. It is gentle. It avoids heat damage. Place the cover on a clean towel. Let it rest naturally.Ensuring It’s Completely Dry
Check for any dampness. Feel the cover carefully. Ensure all parts are dry. Moisture can harm your keyboard. Wait until it is bone dry.Putting The Cover Back On
Align the cover precisely. Gently press it into place. Ensure it sits snugly. Your keyboard is now protected. Enjoy your clean setup.Maintenance Tips
Proper maintenance keeps your keyboard cover clean. It also extends its lifespan. Simple steps prevent grime buildup. Follow these tips for best results.
Regular Dusting
Dust is keyboard enemy number one. It gets everywhere. A soft brush works well. Microfiber cloths are also great. Gently brush away loose dust. Do this often. Daily is ideal. This stops dust settling deep.
Spot Cleaning
Spills happen. Accidents occur. Address spots immediately. Dampen a soft cloth slightly. Use water only. Gently wipe the affected area. Do not scrub hard. For stubborn spots, use mild soap. Dilute it well. Wipe again with a clean, damp cloth. Dry it thoroughly.
Avoid Harsh Chemicals
Your keyboard cover is delicate. Harsh cleaners can damage it. Avoid alcohol-based products. Bleach is a big no. Acetone will ruin it too. Stick to mild soap and water. These are safest. They get the job done well. Protect your cover. Keep it looking new.
Common Mistakes To Avoid
Cleaning your keyboard cover seems simple. But many people make common mistakes. These errors can damage your cover. They can also harm your keyboard. Avoid these pitfalls. Keep your cover in good shape. Protect your keyboard too. It’s easy to do it right. Just know what to avoid.
Using Too Much Liquid
Liquid is your enemy. It can seep into keys. This causes short circuits. It ruins your electronics. Always use a damp cloth. Never a soaking one. Spray cleaner on the cloth. Do not spray the keyboard cover directly. Less is always more here.
Using Harsh Chemicals
Harsh cleaners damage materials. They can cause discoloration. Some chemicals weaken the silicone. Avoid alcohol and bleach. Stick to mild soap. Mix soap with water. This is a gentle solution. Your cover will thank you.
Scrubbing Too Hard
Force is not needed. Scrubbing too hard can tear. It can stretch the cover. Gentle wiping is best. Use a soft cloth. Microfiber cloths work well. They clean without damage. Be patient with the process.
Not Drying Properly
Moisture is a problem. It can lead to mold. It can affect keyboard function. Always dry the cover completely. Air drying is good. You can also use a dry cloth. Ensure no dampness remains. This prevents future issues.
Forgetting To Check The Keyboard
The cover protects the keyboard. But dirt can get under it. Clean the keyboard too. Gently lift the cover. Wipe away dust and crumbs. This keeps both parts clean. It ensures better performance.

Credit: superuser.com