
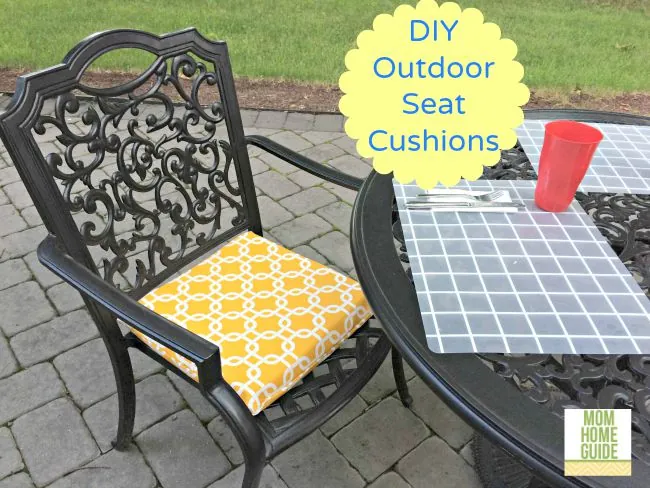
Making your own outdoor cushions costs between twenty and sixty dollars per chair and takes only one to two hours. You’ll need outdoor-grade fabric, thick foam, batting, scissors, a sewing machine or heavy needle, and weather-resistant thread. Measure your chair carefully, cut the foam, wrap it, and sew a snug cover to ensure water runoff. This project is easy for straight seats and medium for curved ones.
What you need for outdoor chair cushions
| Item | How much | Why it’s needed | A substitute |
|---|---|---|---|
| Outdoor fabric | one yard per chair | resists sun, rain, and mildew | none — don’t swap this |
| High-density outdoor foam | two to four inches thick | gives the seat its shape and comfort | indoor foam, but it breaks down fast outside |
| Polyester batting | half a yard | smooths the foam edges under the cover | none — don’t swap this |
| Heavy polyester thread | one spool | won’t rot in moisture | cotton thread, but it weakens in sun |
| Scissors or rotary cutter | one pair | cuts foam and fabric cleanly | none — don’t swap this |
| Sewing machine or heavy needle | one | sews the cover shut | hand sewing, but it takes much longer |
| Tape measure and chalk | one each | marks measurements before cutting | a ruler and a pen, but less accurate |
Select foam labeled “high-density” with a rating of 1.8 pounds or higher. If you choose a lower density, the cushion will flatten within a single season of regular use. Always wrap your foam in a layer of polyester batting before inserting it into the cover. This step prevents the fabric from clinging to the foam and creates a professional, rounded edge.
If you’re working with patterned fabric, buy an extra half-yard per chair to ensure the design aligns across the seams. Failing to account for pattern repeats is the most common mistake beginners make, often leaving them with a mismatched finished product.
Use a size 100/16 needle for your sewing machine when stitching through thick outdoor fabric. A standard needle will likely snap or skip stitches under the tension. If your machine struggles to feed the heavy material, place a piece of tissue paper under the fabric as you sew. You can tear the paper away once the seam is complete. Always double-stitch the corners, as these points endure the most stress when people sit down.
Prepare your chair and workspace
Wipe the chair seat clean and let it dry completely before you measure. Move the chair to a flat, dry surface where you have room to lay out fabric and cut foam without anything shifting.
Remove any old cushion, loose paint, or rust that could snag the new fabric or leave marks on it. Cover your table with an old sheet so chalk dust and foam scraps don’t scatter across the floor.
The one preparation people skip is measuring the seat at its widest and deepest points instead of guessing from memory. That mistake leaves you with a cover that sags or won’t close, and you’ll have to cut everything again.
If your chair has curved arms, an unusual shape, or you plan to add ties that must support weight, take extra care with measurements. When in doubt, check the chair’s own documentation or measure the seat twice before cutting anything.
Measure from the back edge of the seat frame to the front, then across the widest part of the rails. Add two inches to each number for seam allowance.
A dining chair with a trapezoid seat needs four separate measurements because the back width differs from the front. Measure both edges independently.
Cut foam and fabric for outdoor chair cushions
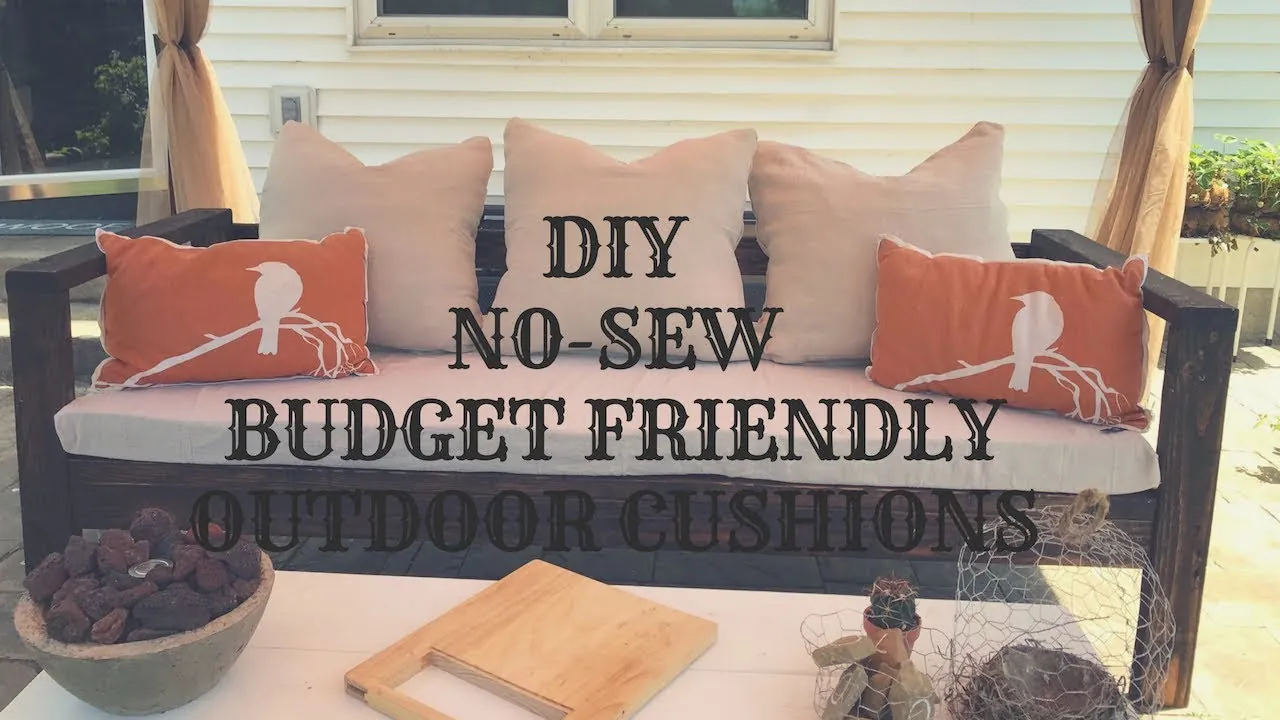
- Measure the seat width and depth with a tape measure, then add one inch to each side for seam allowance; write the numbers down so you don’t mix them up while cutting.
- Lay the high-density outdoor foam on a flat surface and mark the seat dimensions with chalk, checking that the lines are straight before you cut.
- Cut the foam to size with scissors or a rotary cutter, using slow, even pressure so the edges stay straight and don’t crumble.
- Wrap the foam in polyester batting, pulling it snug around the sides and taping or pinning it at the back so the edges stay smooth under the cover.
- Cut two fabric pieces to the foam size plus seam allowance on all sides, marking the wrong side of the fabric with chalk so you sew the right sides together.
- Pin the two fabric pieces together with the right sides facing inward, leaving one side open about six inches for inserting the foam.
- Sew around the pinned edges with heavy polyester thread, using a half-inch seam and backstitching at the start and end so the seam doesn’t unravel.
- Turn the cover right side out, slip the wrapped foam inside, push it into the corners, and hand-stitch the opening closed with small, tight stitches.
- Place the finished cushion on the chair and press down firmly; if it fits without bunching or sliding off, the job is done.
How to tell the cushion fit is right
The cushion should sit flat on the seat with no gaps at the front or back. The corners should fill out without the fabric pulling tight at the seams.
Press down with your hand. The foam should spring back within a few seconds. It must not feel thin or lumpy anywhere.
Run your thumb along the zipper track while the cushion is zipped shut. You should feel smooth backing tape under every tooth. A bunched zipper means the cover is too short for that foam block.
If water is poured on the fabric, it should bead up and run off. It must not soak through within a minute.
Signs it needs another round include fabric that gaps at the edges. Foam that shifts inside the cover is another warning. Watch for seams that pucker when you press on them.
If the cover won’t close around the foam, the fabric pieces were cut too small. You need to recut with the full seam allowance. People often shave an eighth inch off each edge to force a zipper closed. That shrinks the finished cushion enough to leave visible gaps at the chair frame.
Never judge safety by smell or taste. Outdoor fabric treatments and foam adhesives can give off no warning at all. Rely on fit and water behavior instead.
When cushions go wrong and how to fix them
| What happened | Why | What to do |
|---|---|---|
| Cover sags on seat | fabric cut too small | recut with full seam allowance |
| Foam slips inside cover | batting not secured | pin or tape batting at back |
| Seam splits open | weak thread or short stitch | resew with heavy polyester thread |
| Fabric fades fast | indoor fabric used outside | replace with outdoor-grade fabric |
| Water soaks through | fabric not water-resistant | re-treat or replace cover |
| Cushion slides off chair | no ties or non-slip backing | add fabric ties or grip backing |
A sagging cover usually means the original pattern missed the foam’s thickness. Measure your foam, then add that depth plus one inch for seams on every side.
Foam shifting inside a cover happens when the batting wraps only the top. It must wrap the front edge and extend two inches down each side to stay put.
Split seams are rarely about tension settings. Cotton thread rots in damp air and snaps under body weight after a few months of use.
Fading tricks people who buy “outdoor” fabric without checking UV ratings. Look for solution-dyed acrylic fibers rather than printed polyester if the cushion faces direct afternoon sun.
Water soaking through a treated cover means the finish wore off. Test it by dropping water on the surface. If it beads up, you still have time.
If the drop sinks in immediately, retreat the fabric before the foam underneath starts to mildew.
How often to replace outdoor chair cushions
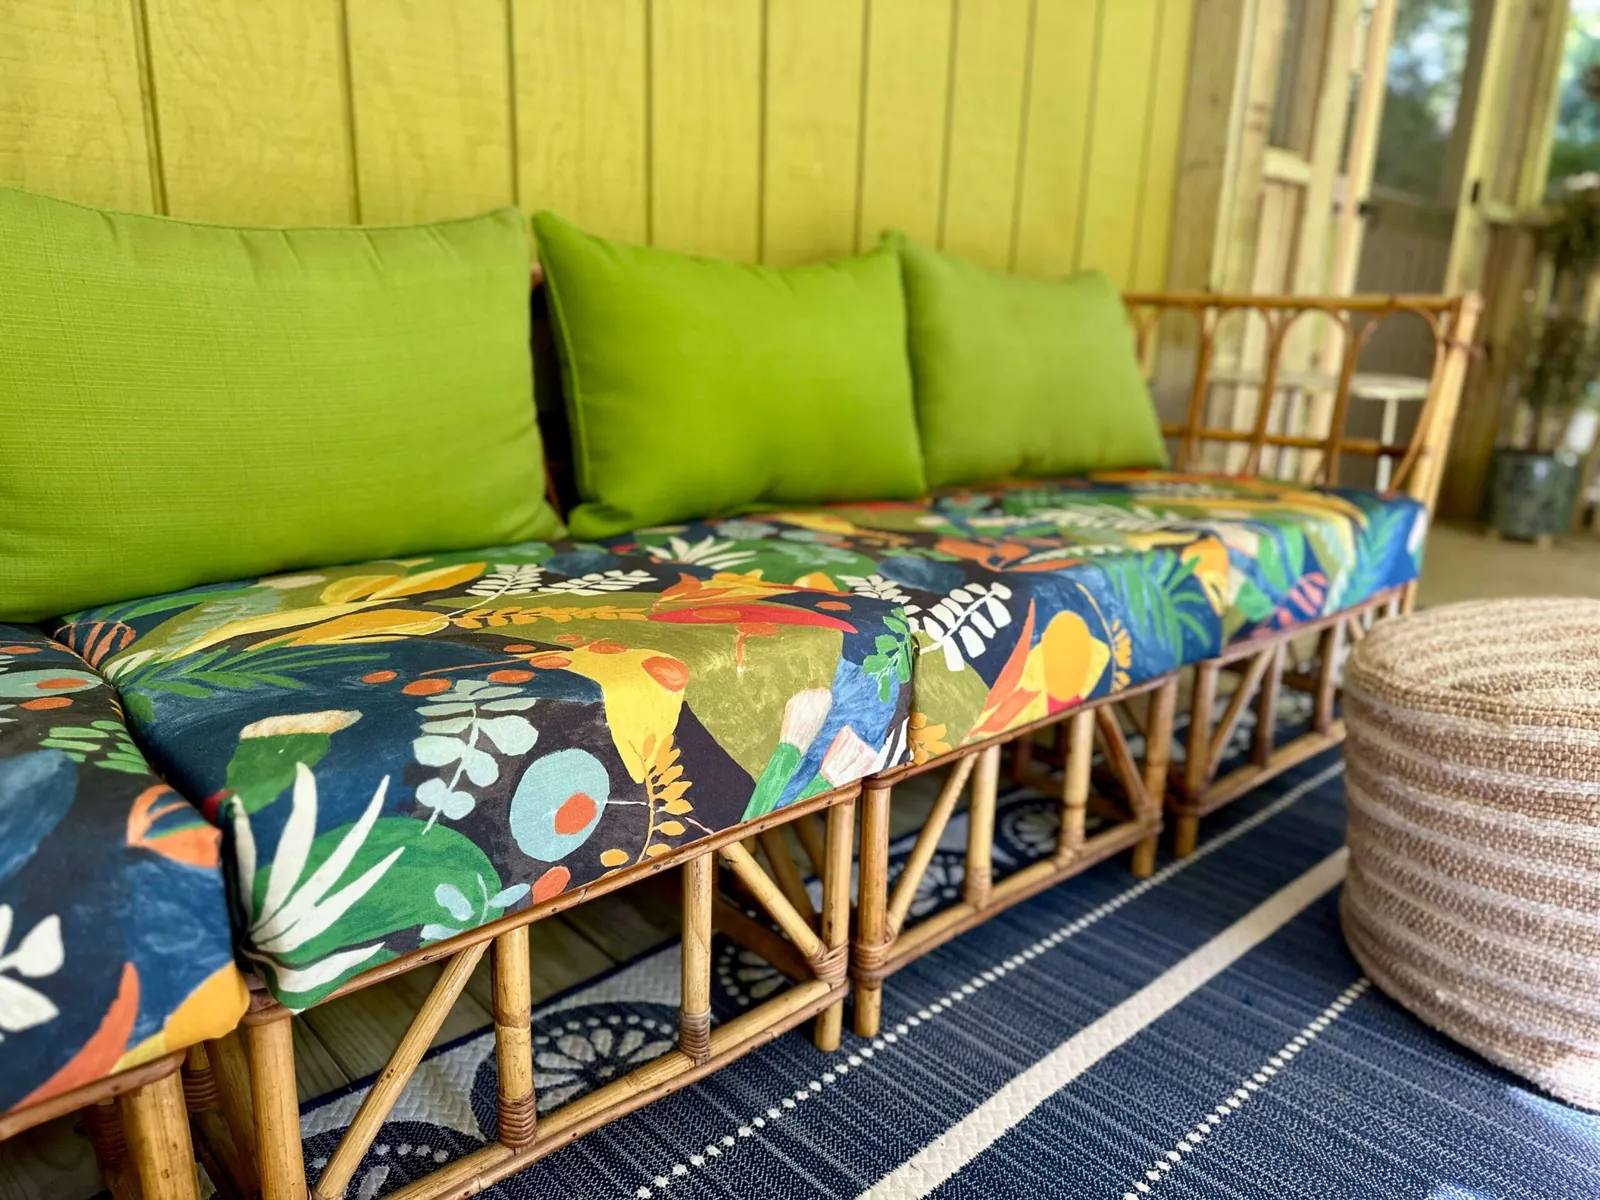
Plan to replace outdoor chair cushions every two to three years, assuming they sit outside through normal sun and rain and are stored under cover during harsh winter weather. The two things that move this interval most are how many hours of direct sun the cushions get each day and whether you bring them inside or cover them when it rains.
Cushions in full sun all day fade and break down sooner, while shaded cushions stored in a dry shed can last longer. If you see the fabric color lightening after just one season, your cushions are absorbing high levels of UV radiation that will degrade the internal foam within eighteen months.
Foam that feels thin, fabric that tears easily, or padding that stays damp after rain means it’s time for a new cushion regardless of age. If you can press your thumb into the center and it doesn’t spring back instantly, the internal structure has collapsed.
Check the manufacturer’s care label or the fabric tag for the exact lifespan and cleaning guidance for your materials. If the tag specifies “solution-dyed acrylic,” you can expect an extra year of life compared to standard polyester blends.
Frequently asked questions
How long does it take to make outdoor chair cushions?
About one to two hours per chair, assuming a straight seat and basic sewing skills, with curved or tied chairs taking longer.
Can I use indoor foam for outdoor chair cushions?
No — indoor foam breaks down quickly in sun and moisture, so use high-density outdoor foam rated for exterior use instead.
Is it safe to leave outdoor cushions in the rain?
Only if the fabric is water-resistant; otherwise bring them under cover, since damp foam can mildew and hold moisture for days.
How much fabric do I need for one cushion?
About one yard per chair, assuming a standard seat and a half-inch seam allowance, with larger chairs needing more.
What happens if I use cotton thread outdoors?
Cotton thread weakens and rots in sun and rain, so seams split — heavy polyester thread lasts much longer.
Does seam allowance matter for outdoor chair cushions?
Yes — add a half-inch on all sides or the cover will be too small to fit over the foam.
How do I know the cushion cover is sewn correctly?
Turn it right side out, insert the foam, and check that corners fill out and seams hold without puckering.
Conclusion
The best cushion is the one that fits your actual chair, not the one that matches a generic pattern, so measure your seat before you buy fabric or cut foam.