
To complete the process of how to unfold a razor scooter, place the deck flat on the ground, loosen the joint clamp, pull the plastic release lever toward the deck, and raise the steering tube until the spring pin clicks into the upright slot. Then, tighten the quick-release clamp firmly to secure the joint.
A Razor scooter hinges on a spring-loaded metal pin that must clear its locked track before the stem can swing upward. If you lift the handlebar before releasing tension on the joint, the pin stays jammed against the metal frame.
This folding system suits standard manual scooters like the A-series, but it isn’t designed for heavy stunt decks, which use rigid, one-piece bars without a folding joint. The folding mechanism offers quick portability, but you trade away the rock-solid frame stiffness found on pro-grade models.
Steps to unfold your razor scooter
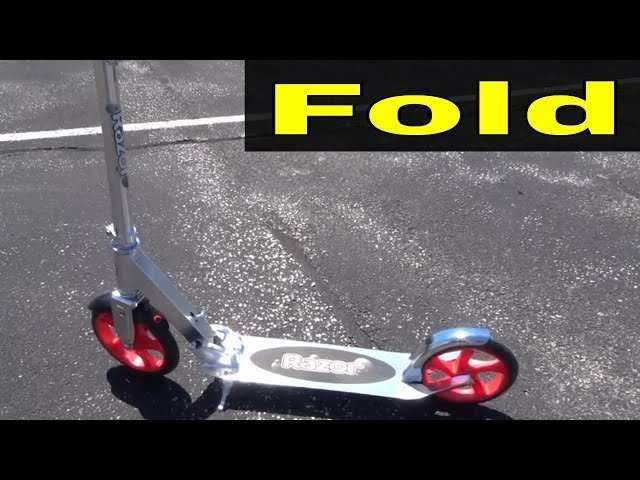
- Rest the scooter deck flat on a stable surface with the wheels touching the floor. If the deck rests flat, proceed with hands free; if the deck wobbles on uneven ground, hold the rear plate down with your sneaker.
- Open the quick-release lever located on the lower side of the steering column near the front wheel. Turn the thumbscrew counterclockwise one to two full turns if the joint clamp is clamped too tightly to budge.
- Pull the spring-loaded release lever up toward the handlebar tube using two fingers while lifting the column. Pulling the lever retracts the locking bolt from the folded rest position so the hinge can move freely.
- Swing the T-bar upright in a smooth 90-degree arc until you hear an audible snap. That sound means the lock pin has dropped completely into the vertical notch.
- Push the quick-release lever down firmly until it sits flush against the metal clamp. The lever should leave an imprint on the palm of your hand as it closes; if it swings shut with zero effort, open it, tighten the knurled nut one half-turn clockwise, and clamp it again.
- Press the spring buttons on each handgrip and slide the grips into the T-bar until the buttons pop through the holes. Tip: Never place your fingers directly between the base bracket and the folding block, as the joint can pinch skin if it snaps shut unexpectedly.
How long it takes
Opening a standard scooter takes only seconds once you understand the dual-lock mechanism.
| Situation | How long | What changes it | What to watch for |
|---|---|---|---|
| Brand-new scooter | 30 to 45 seconds | Factory clamp is adjusted very tight | Stiff release lever requiring extra hand force |
| Everyday commuter use | 5 to 10 seconds | Smooth joints from regular movement | Quick snap of the lock pin |
| Dirty or grit-filled hinge | 1 to 2 minutes | Road dust binding the spring pin | Stem stopping halfway before the lock hole |
| Stiff winter folding joint | 20 to 30 seconds | Cold metal parts and thick grease | Slow lever return when released |
If setup takes far longer than the table shows, spray the hinge with an aerosol lubricant to clear out road debris instead of forcing the lever.
How to tell when it’s done
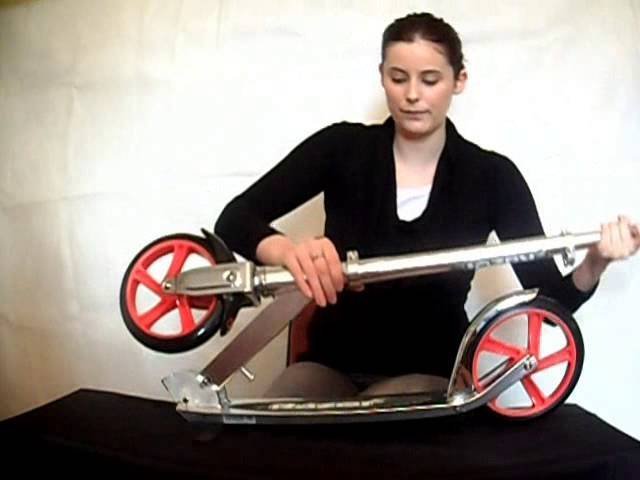
A properly locked scooter produces two distinct confirmations: a loud metallic click when the pin enters the vertical slot, and heavy resistance when pushing the quick-release arm flat. To verify the setup, hold the front brake or front wheel with your feet and shove the handlebars forward with both hands. The stem must remain straight without shifting backward or rocking inside the base joint. The locking rules for folding ride-ons set by the Consumer Product Safety Commission require structural latches to prevent sudden collapse during riding. If the column wobbles back and forth even slightly, the internal pin hasn’t dropped into place.
Mistakes that ruin it
- Yanking the handlebars before pulling the lever: This bends the internal latch hook and rounds off the edge of the safety slot. Pull the lever back fully to clear the metal shelf before raising the neck.
- Leaving the quick-release clamp loose: A loose clamp lets the stem rock inside the bracket, which quickly widens the hinge hole and ruins the frame. Tighten the knurled nut until closing the lever requires firm pressure from your palm.
- Ignoring grit inside the pivot housing: Dust and sand get trapped behind the spring plate, which stops the locking pin from sinking deep into the receiver hole. Wipe the hinge pocket with a rag whenever dirt builds up around the latch.
- Assuming all models use the same lever: This varies by model — check the label on your deck, because adult models often use a lower push-button or a slide-sleeve instead of the standard lever found on kids’ kick models.
Frequently asked questions
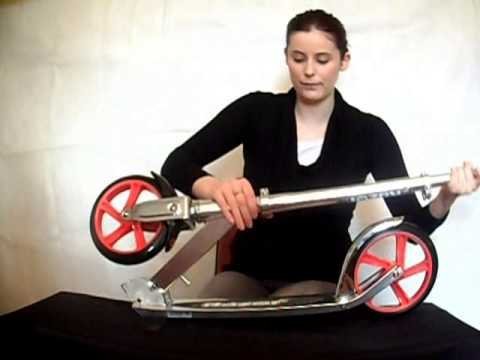
Why is my Razor scooter release lever stuck?
The main steering column is likely leaning forward, which pinches the pin against the hinge wall. Pull the handlebar back toward the deck slightly to take pressure off the joint, then pull the release lever. This loosens the pin so it can slide out of the lock position.
Can I unfold the scooter without opening the clamp?
No, the quick-release clamp squeezes the outer aluminum frame directly against the internal hinge block. If you leave it closed, the metal parts can’t rotate past each other. Loosen the clamp lever first so the hinge has enough clearance to swing freely.
Is it safe to ride if the pin doesn’t click?
No, riding without the pin fully set into the notch causes the handlebar to fold backward during use. That sudden movement throws the rider over the deck. Always push the bar forward until the internal pin snaps completely into the frame’s vertical hole before stepping on.
How do I unfold an adult Razor scooter like the A5?
Loosen the clamp lever above the front wheel, then push the small, flat plastic block located at the joint forward while pulling up on the bar. Adult models use a low-profile release block instead of a top-pull lever, but the stem still clicks into an identical locking slot.
What happens if the handlebar grips don’t lock?
The small metal buttons inside the grip tubes have slipped past their alignment holes. Twist the rubber handle slowly while pushing it into the T-bar until the rounded metal button pops through the tube opening. Riding with loose handles causes the grips to slide off in traffic.
Final Thoughts
Before you head out, double-check that the handlebars are locked tight and the wheels spin freely. It’s a good idea to wear a helmet whenever you’re riding, as safety shouldn’t be an afterthought. You’ll have a much smoother experience if you take a moment to ensure everything feels sturdy and ready for the road.
Related guides