
Installing a Schwinn bike rack takes about 20 to 30 minutes, requires standard hex keys, and ranks as easy for anyone comfortable with basic hand tools.
Tools for your Schwinn bike rack
| Item | How much | Why it’s needed | A substitute |
|---|---|---|---|
| Hex key wrench | 1 set (4mm, 5mm) | Tightens rack mounting bolts | Multitool with hex bits |
| M5 mounting bolts | 4 standard bolts | Secures rack to frame eyelets | none — don’t swap this |
| Small washers | 4 washers | Prevents bolts from working loose | none — don’t swap this |
| Level tool | 1 small tool | Keeps the rack top horizontal | Smartphone leveling app |
| Clean rag | 1 cloth | Wipes grit from frame threads | Paper towel |
Before you start
- Park the bicycle on flat ground and lean it against a sturdy wall or clamp it into a floor stand.
- Wipe off dirt, grease, and road grit from the threaded mounting holes near your rear wheel dropouts.
- Shift the bike’s chain into the smallest rear cog to keep it clear of your working hand.
- Check that your frame has factory eyelets; skipping this check leads to buying parts that won’t attach.
- If your bike has carbon fiber seatstays or rear disc brakes with unusual clearance, consult a local bike shop mechanic instead of forcing standard hardware.
Step by step
- Thread one M5 bolt with a washer loosely into the right lower dropout eyelet using your fingers to check that the threads are clean.
- Align the lower right leg of the Schwinn cargo rack against the dropout eyelet on the bike’s chain side.
- Tighten the lower right bolt three full turns with a 4mm or 5mm hex wrench so it stays held in place.
- Position the lower left rack leg over the left dropout eyelet, then install the second washer and bolt three turns deep.
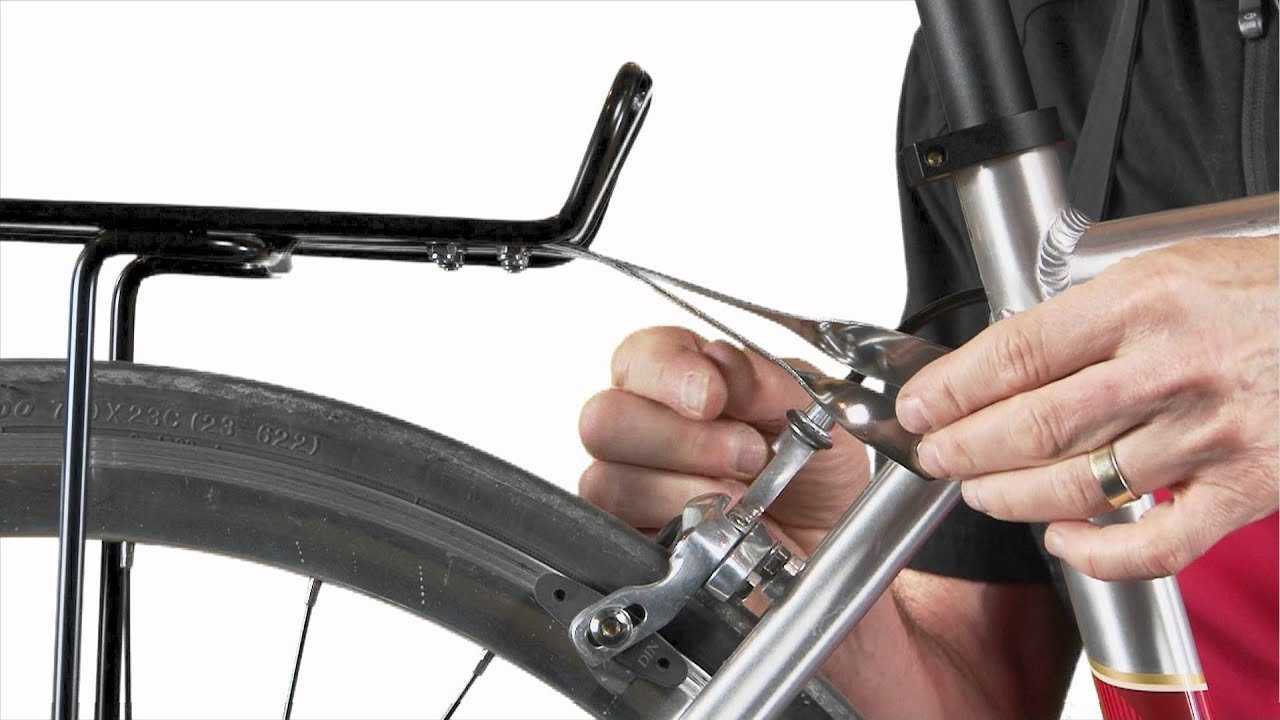
- Loosen the adjustment bolts on the two upper metal stay arms using your hex key so they slide freely back and forth.
- Extend the upper stay arms forward toward the threaded eyelets located near the top of your frame’s rear seatstays.
- Fasten both upper stay arms to the seatstay eyelets using your remaining two M5 bolts, tightening each halfway down.
- Place your small level across the flat top platform of the rack to ensure your cargo surface sits completely flat.
- Tighten all four frame bolts until snug, alternating sides so the rack doesn’t pull crooked during final tightening.
- Grip the rear platform with your bare hand and shake it firmly to confirm the rack doesn’t wobble or creak.
How to know it worked
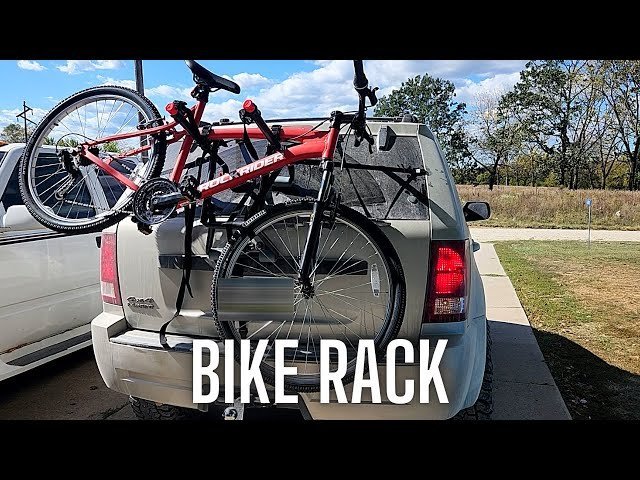
A successful installation shows a rack top that sits parallel to level ground without tilting forward or back. When you shake the rear rack sideways, the entire bicycle should move with it, producing zero rattle or play at the four frame joints. The rack legs must clear your rear tire, brake calipers, and wheel spokes by at least 15 millimeters on both sides. Ride the bike for 50 yards on smooth pavement and listen carefully. You shouldn’t hear any ticking noises, rubbing against tires, or clanking from loose washers. If the rack shifts when you push down on it with your palm, the stay arm adjustment bolts need further tightening.
If something goes wrong
| What happened | Why | What to do |
|---|---|---|
| Bolts strip frame threads | Bolt turned while tilted | Retap hole or use clamp |
| Rack tilts backward | Upper stays adjusted too long | Shorten stays and re-level |
| Lower leg hits brake | Disc caliper sticks out far | Install a dropout spacer |
| Platform wobbles sideways | Stay arm bolts are loose | Tighten the arm adjustment screws |
| Bolts loosen after riding | Missing lock washers under bolts | Add washers and retighten bolts |
How often to do this
You only install the rack once, but you should inspect all four mounting bolts after your first 50 miles of riding. Regular vibration from road bumps naturally works metric hardware loose over time. Two main factors change how often you need to inspect it: riding over rough gravel roads and hauling heavy cargo near the rack’s maximum limit. For commuting on smooth asphalt, a quick monthly check with your hex wrench keeps everything secure. However, this varies by model — check the label on your specific Schwinn rack to confirm its exact cargo weight rating. For general bicycle equipment guidelines and consumer protection notices, consult the U.S. Consumer Product Safety Commission safety recommendations.
Frequently asked questions
Can you install this rack on a bike without eyelets?
Yes, you can install the rack using rubber-coated P-clamps wrapped tightly around your frame’s seatstays. The clamps create sturdy artificial mounting points for the stay arms. Make sure the clamps fit your frame tube diameter exactly so they don’t slip downward when carrying heavier loads.
Does it matter which way the top stays bend?
Yes, the curved ends of the upper stay arms should bend inward toward the frame’s central mounting points. Installing them backward points the metal bars outward, which can catch on your shoes or saddle bag straps while pedaling. Keep the stays straight and parallel whenever possible.
Why are the bolts not threading into my frame?
Paint overspray or road grit inside the factory frame eyelets usually blocks the bolt threads from catching smoothly. Clean the holes with an old toothbrush and a drop of light lubricant. Never force the bolt with a wrench, because cross-threading permanently ruins the frame’s soft aluminum threads.
Is it safe to carry a child on a Schwinn bike rack?
No, Schwinn commuter rear racks are engineered for cargo bags, panniers, and bundled gear rather than passenger seats. Hauling a child requires a heavy-duty seat that mounts directly to the bicycle frame. Exceeding the rack’s cargo rating can cause structural metal fatigue or sudden failure while riding.
What happens if the rack isn’t level?
Cargo shifts backward or forward during travel if the rack platform is tilted off-center. A tilted platform puts uneven shear stress on the lower mounting bolts, which increases the chance of hardware snapping. Adjust the sliding upper arms until your rack surface sits completely horizontal.
How long do the rack mounting bolts need to be?
Standard M5 bolts measuring 12 to 16 millimeters in length provide the proper thread engagement for bicycle dropouts. Using bolts longer than 16 millimeters can push through the dropout hole and hit your smallest chain cog, preventing your bike from shifting properly. Stick to factory-length hardware.
Final Thoughts
Once everything is tight and secure, give your bike a gentle shake to ensure it doesn’t wobble. You’re ready for your first ride, so head out and enjoy the fresh air. Don’t forget to double-check the straps after your first few miles just to make sure they haven’t loosened up.
Related guides