
Assembling a razor scooter takes about 10 minutes with zero extra cost because the needed 5 mm Allen wrench comes in the box. The job is easy, but it needs care so you don’t pinch your fingers in the joint. You must have the factory folding mechanism completely unlocked before you try to force anything into place.
Tools to assemble your razor scooter
| Item | How much | Why it’s needed | A substitute |
|---|---|---|---|
| 5 mm Allen wrench | 1 piece | Tightens the collar clamp bolts | Standard metric hex key set |
| Clean work surface | 1 flat area | Keeps small hardware from rolling | Flattened cardboard shipping box |
| Safety helmet | 1 helmet | Protects rider during first test | none — don’t swap this |
| Owner manual | 1 booklet | Confirms exact torque specifications | Downloaded manual from manufacturer |
Before you start
- Clear a flat floor space of at least 4 feet by 4 feet so parts don’t get lost.
- Take all plastic wrap and cardboard protectors off the frame, wheels, and folding joint.
- Slide the collar clamp onto the steering tube before inserting the T-tube; skipping this forces you to take everything apart again.
- If a folding joint bolt is cross-threaded or completely seized from the factory, stop immediately and contact customer service rather than forcing the metal.
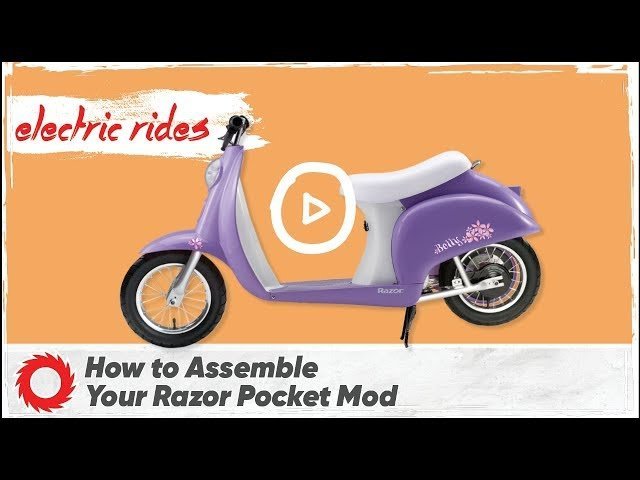
- This basic assembly isn’t for motorized or electric models, which require wire connections and battery charging steps.
Step by step
- Unfold the main deck by pulling the plastic release lever upward while pushing the front fork forward. The joint clicks loudly when it locks into the upright riding position.
- Check the folding pin beneath the joint to ensure it sits completely inside the round frame notch. Push firmly on the steering column to verify it can’t fold backward on you.
- Loosen the bolts on the collar clamp using the 5 mm hex wrench by turning them counter-clockwise 3 full turns. The clamp should slide smoothly over the fork tube.
- Insert the handlebar T-tube down into the fork tube until it hits the built-in mechanical stop line. Ensure the front wheel points directly forward while doing this step.
- Align the crossbar so it sits at a perfect 90-degree angle to the front wheel. Stand over the deck to sight straight down the center line of the wheel.
- Tighten the collar clamp bolts alternately by turning each bolt 1 half-turn at a time until tight. Alternating prevents the clamp from bending unevenly or stripping the threads.
- Unclip the grips from their plastic carry slots on the central stem column. Push the spring-loaded metal buttons inward on each grip tube.
- Slide each handlebar grip into the open ends of the T-tube until the spring button pops up through the hole. Pull outward hard on both grips to confirm they can’t slip out.
- Open the quick-release lever on the upper stem to raise the T-bar to hip height. Close the cam lever firmly so the stem can’t slide down under your body weight.
How to know it worked
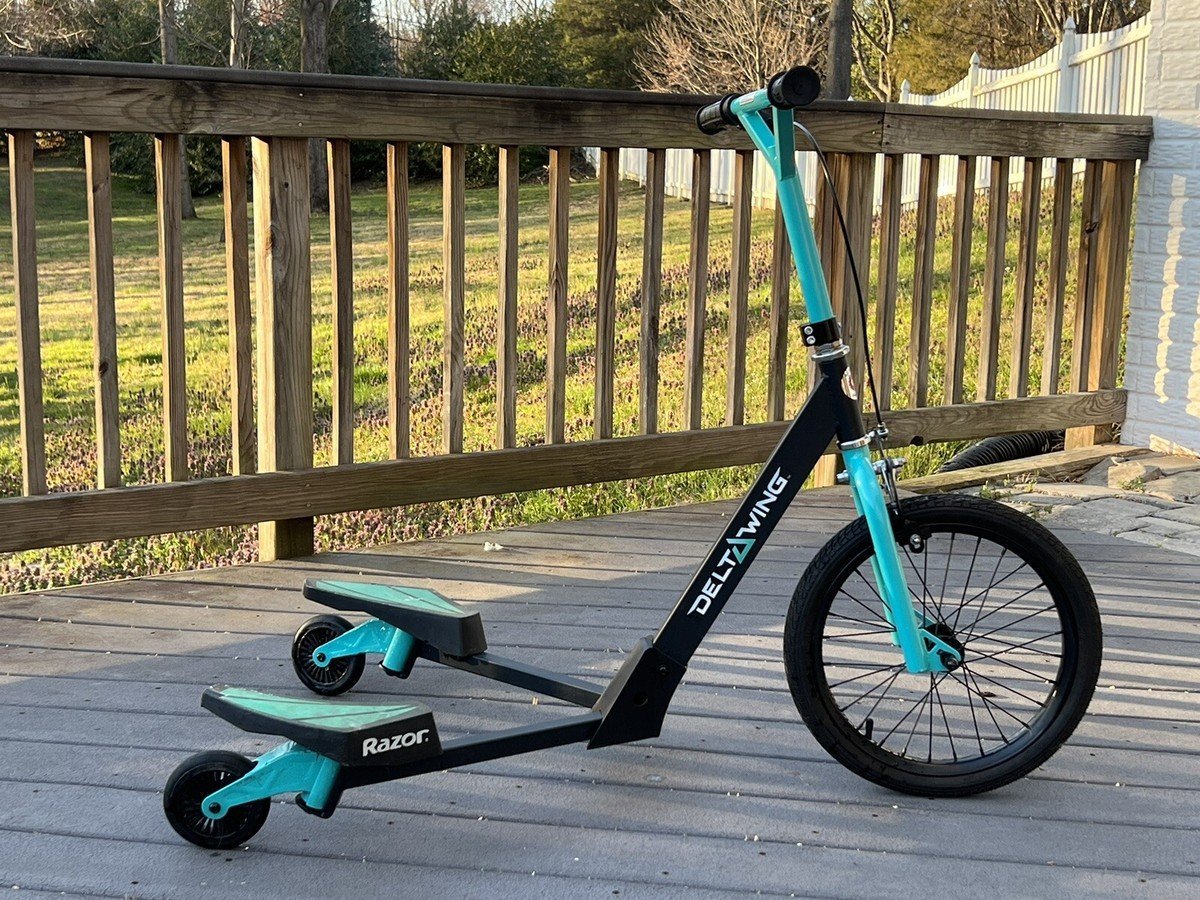
Stand next to the scooter on flat ground and hold both handgrips firmly. Push down with your full upper-body weight onto the handlebars. The vertical tube must not slide downward into the clamp, and the stem must not twist left or right independently of the front wheel.
Spin both wheels with your hand to make sure they turn freely for at least 5 seconds without scraping against the metal frame. Step onto the deck and press your rear heel onto the spring brake pad; the metal should press firmly against the rear wheel tire. To keep riders safe from sudden falls, review the CPSC scooter safety guidelines before letting anyone ride on public paths. If you hear rattling parts, tighten the collar clamp bolts another quarter-turn.
If something goes wrong
| What happened | Why | What to do |
|---|---|---|
| Handlebars twist sideways | Clamp bolts are too loose | Tighten clamp bolts evenly in alternating turns |
| Push button won’t pop | Button missed internal tube hole | Rotate grip until button snaps into hole |
| Stem slides down during use | Quick-release lever lacks clamp tension | Spin adjusting nut clockwise before closing lever |
| Steering feels stiff or sticky | Headset bearing nut overtightened at factory | Loosen large headset nut one eighth turn |
| Frame won’t unfold straight | Release lever caught on debris | Pull lever firmly while wiggling steering column |
| Scooter wobbles during roll | Axle bolt loose inside hub | Tighten axle bolt with two matching wrenches |
How often to do this
A complete rebuild only happens once when you take the scooter out of the shipping carton. However, you should inspect and retighten the collar clamp bolts every 2 to 4 weeks depending on how hard you ride.
Two conditions change how often you need to tighten things: rider weight and ground roughness. If a rider is near the maximum weight limit, or if you regularly ride over bumpy brick sidewalks and cracked asphalt, check the bolts weekly. The trade-off for having a light, portable folding scooter is that road vibrations loosen fasteners over time.
Frequently asked questions

Can you assemble a Razor scooter without tools?
No, you need a 5 mm Allen wrench to tighten the collar clamp. While the folding frame and push-button grips lock together by hand, the steering tube clamp requires mechanical torque to prevent dangerous slipping while riding.
Why won’t the folding lever open up?
The release mechanism binds if you don’t take pressure off the joint pin. Push the steering tube slightly forward while pulling up on the plastic lever with your fingers to let the internal locking pin slide free of the metal frame notch.
Is it safe to skip the collar clamp?
No, riding without a fully tightened collar clamp causes the handlebars to disconnect from the wheel. The front wheel will turn sideways unexpectedly under rider weight, leading directly to a sudden fall and serious injury on pavement.
How long does assembly take out of the box?
About 10 minutes if you have standard hand strength and the included tool ready. The process only involves unfolding the frame, inserting the handlebar column, securing two or three bolts on the clamp, and snapping the spring grips into position.
What happens if I overtighten the clamp bolts?
You’ll strip the soft aluminum threads or round out the hex socket heads. This mistake costs you the price of a replacement clamp, so stop turning the wrench once you feel firm resistance and the gap stops closing.
Does the handlebar height matter for safety?
Yes, the top of the handlebar should rest around the rider’s waist or belly button. If you set it too high near the chest, the rider loses steering leverage; if you set it too low, they risk pitching forward over the front wheel.
Final Thoughts
Before you head outside, double-check that every bolt feels tight and secure. It’s a good idea to wear a helmet on your first ride to stay safe while you find your balance. You’ll be cruising around the neighborhood in no time, so enjoy the breeze and have fun out there!