
You can fix a tubeless bike tire by matching the leak size to sealant, a rubber plug, or an internal patch.
Why your tubeless bike tire leaks
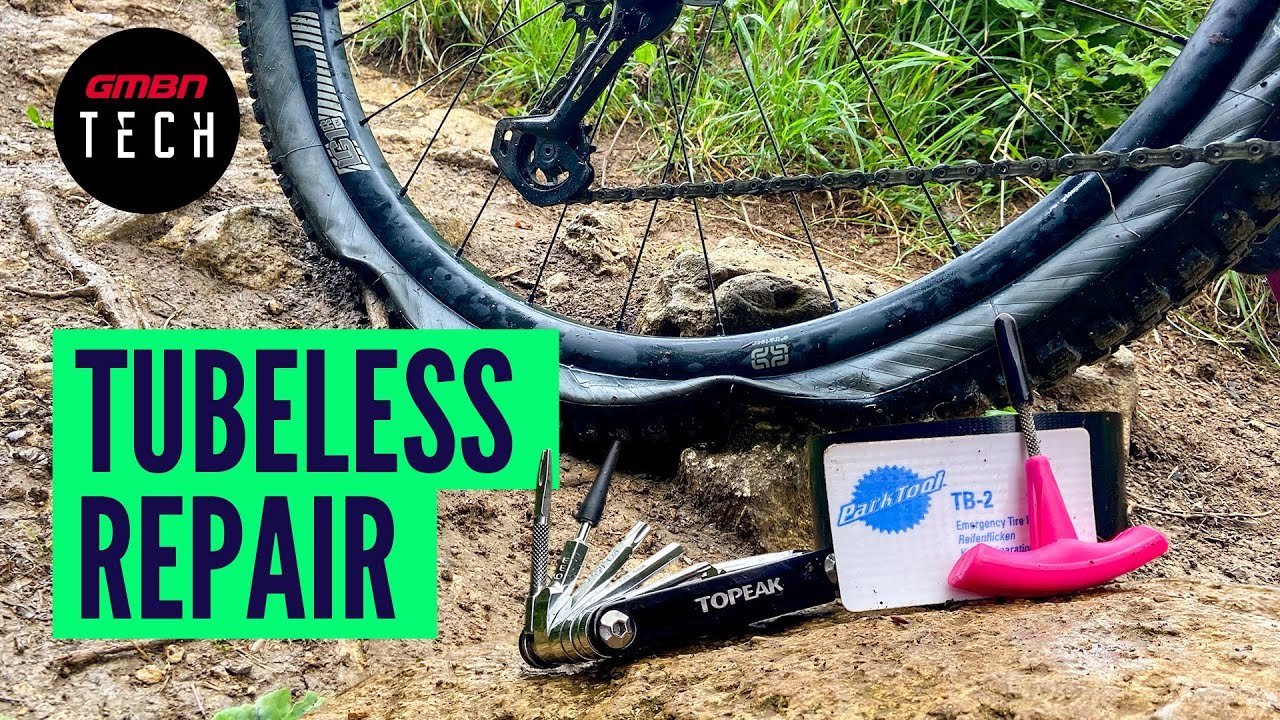
Punctures usually drop pressure because liquid sealant can’t reach the hole or has dried into a solid skin inside the casing. Most tire sealants lose their liquid state after a few months depending on local heat and humidity, which leaves the rubber completely unprotected against routine thorns and glass.
Another common reason is rim tape failure. If high-pressure air slips past an edge of the thin adhesive strip inside the wheel, air travels through the spoke holes instead of escaping through the tread.
Finally, impacts against rocks or curbs can burp air directly past the bead. The tire bead flexes away from the metal shelf, letting air escape instantly without an actual tear in the rubber.
Spin the wheel to distribute liquid sealant
If air hisses from a tiny puncture, don’t pull the tire off the rim. This quick fix is for small pinholes under two millimeters wide when you still have liquid sealant inside the tire.
Rotate the wheel so the puncture sits at the very bottom, closest to the ground. This position forces the pool of liquid sealant directly over the leak. Pump the tire to your normal riding pressure—usually between 20 and 30 psi for mountain bikes, or up to 70 psi for road setups. Spin the wheel smoothly for 30 seconds so the latex coats the inner surface evenly. You’ll know it worked when the hissing stops and white foam no longer bubbles out of the tread.
This fix isn’t for large slices or sidewall tears, which liquid alone can’t bridge.
Insert a tubeless repair plug into the hole
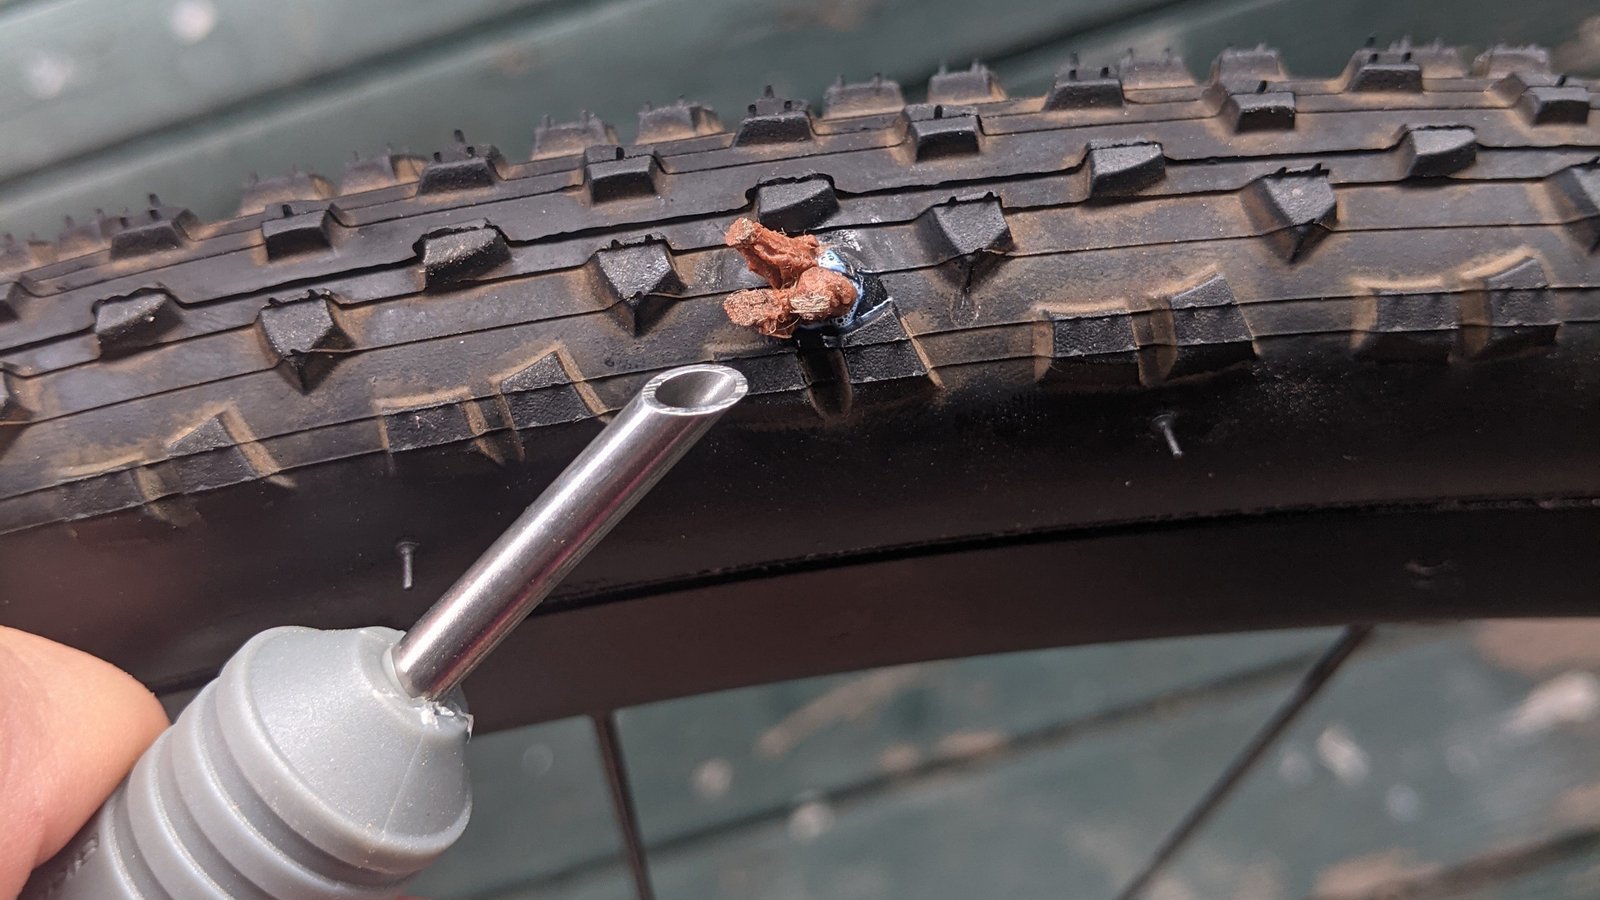
When a puncture is between two and four millimeters wide, liquid sealant sprays out without clotting. This fix uses a sticky rubber strip, commonly called a bacon strip, to physically plug the opening.
Keep the tire mounted on the rim. Thread one rubber strip halfway through the eye of a tire plug fork tool. Push the fork straight into the puncture until about half an inch of rubber tail remains visible outside the tread. Hold the rubber tails flat against the tire with your thumb and gently pull the metal fork straight out. The fork releases the plug, leaving the sticky rubber wedged tightly in the hole.
Pump the tire back up to your normal pressure. The plug will sit slightly proud of the tread; you can trim it flush with small scissors, or simply leave it to flatten against the pavement as you ride.
Install a radial patch inside the casing
For large cuts up to six millimeters across the main tread, you must patch the tire from the inside. This fix isn’t worth the effort on cheap, heavily worn rubber, but it saves an expensive casing with plenty of tread life left.
Remove the tire completely and clean the inner casing around the cut with rubbing alcohol to strip away dried latex. Buff the area lightly with abrasive paper to create a rough texture. Apply vulcanizing fluid, wait until it turns tacky, and press a dedicated tubeless patch firmly over the slice.
Check your tire brand’s technical specifications for casing limits, such as the Schwalbe tubeless safety guidelines, because structural cord damage can cause a blowout under pressure. If the tire cords show wide separation or the cut runs through the bead hook, discard the tire immediately.
What not to do
- Don’t jam multiple oversized plugs into a severe sidewall slice, as the weakened casing cords can suddenly rupture during high-speed cornering.
- Don’t use regular plastic superglue to seal holes, because rigid adhesives dry brittle and crack off flexible tire casings within minutes.
- Don’t inflate a flat tubeless setup with a small hand pump if the bead unseated, since low airflow volume won’t pop the bead back onto the rim shelf.
- Don’t ride on a completely flat tire to reach home, which bends the aluminum rim walls or cracks carbon fiber bead hooks beyond repair.
How to stop it happening again
Staying rolling requires simple maintenance habits instead of waiting for a flat on the trail.
| If you’re doing this | Do this instead | Why |
|---|---|---|
| Ignoring sealant for six months | Sealant naturally dries out over time and leaves holes unprotected | |
| Using screwdrivers as tire levers | Use wide, flat plastic tire levers | Metal tools scratch the rim bed and ruin the airtight tape seal |
| Pumping tires to the maximum rim limit | Run the lower pressure listed on your tire sidewall | Excess pressure blows the tire bead clean off hookless rim shelves |
| Leaving sharp thorns stuck in tread | Pluck thorns out while the wheel is stationary. | Old thorns flex as you ride and slowly enlarge existing puncture channels |
Frequently asked questions
Can you fix a tubeless tire with an inner tube?
Yes, installing a standard inner tube works as an immediate roadside repair. You must remove the tubeless valve stem from the rim, wipe out liquid sealant, check the casing for sharp debris, and insert the spare tube just like a traditional bike tire.
How long do tubeless tire plugs last?
Plugs often last for the remaining life of the tire tread. The sticky rubber vulcanizes slightly against the casing over time. However, if a plug loosens or weeps air, remove the tire at home and install a permanent vulcanized patch over the inside surface.
Is it safe to ride with a sidewall plug?
No, riding on plugged sidewalls is dangerous because the sidewall flexes constantly under load. A plug can work as a slow limp-home measure, but you must replace the tire before riding aggressively. The thin casing threads can’t support safe high-pressure loads once cut.
Why won’t my tubeless tire hold air overnight?
Your tire is leaking through degraded rim tape or a loose valve core. Tighten the small brass valve core with a valve tool. If soapy water sprayed on the spoke nipples shows bubbling, strip the old rim tape completely and install fresh tape.
What happens if you run out of sealant on a ride?
Your tire will lose air slowly whenever minor thorns poke through the tread. The tire remains safe to ride if pressure stays stable, but any new pinhole will cause a flat instead of sealing within seconds. Add fresh fluid as soon as possible.
Final Thoughts
Once you’ve finished the repair, give your wheel a quick spin to ensure the sealant coats the area evenly. It’s a good idea to check your tire pressure before your next ride, just to be safe. You’ll feel much more confident out on the trails knowing you’re ready for anything.