
Is your drill battery refusing to charge just when you need it most? It’s frustrating, isn’t it?
You rely on your drill for so many tasks, and a dead battery can bring everything to a standstill. But before you rush out to buy a new one, there’s good news: you might be able to fix it yourself.
In this guide, you’ll discover simple, effective steps to bring your drill battery back to life. Keep reading—your next project depends on it.
Common Reasons Drill Batteries Fail
Drill batteries stop charging for many reasons. Knowing these reasons helps fix the problem faster. Some causes are simple to spot. Others need more care to find. Here are common reasons drill batteries fail.
Battery Age And Wear
Batteries wear out over time. Each charge cycle lowers their power. Old batteries hold less charge. They may not charge at all. Regular use shortens battery life. Batteries that sit unused can also fail.
Charger Issues
Chargers can cause battery problems. A broken charger won’t send power. Dirt or damage on charger contacts stops charging. Using the wrong charger can harm the battery. Check the charger for cracks or loose parts.
Connection Problems
Loose or dirty connections block charging. Battery and drill contacts must be clean. Dust, grime, or corrosion can build up. This stops electricity flow. Tighten any loose connections carefully. Clean contacts with a dry cloth or brush.
Temperature Effects
Extreme heat or cold affects batteries. Cold batteries charge slowly or not at all. Heat can damage battery cells inside. Store batteries in a cool, dry place. Avoid charging batteries that are very hot or cold.
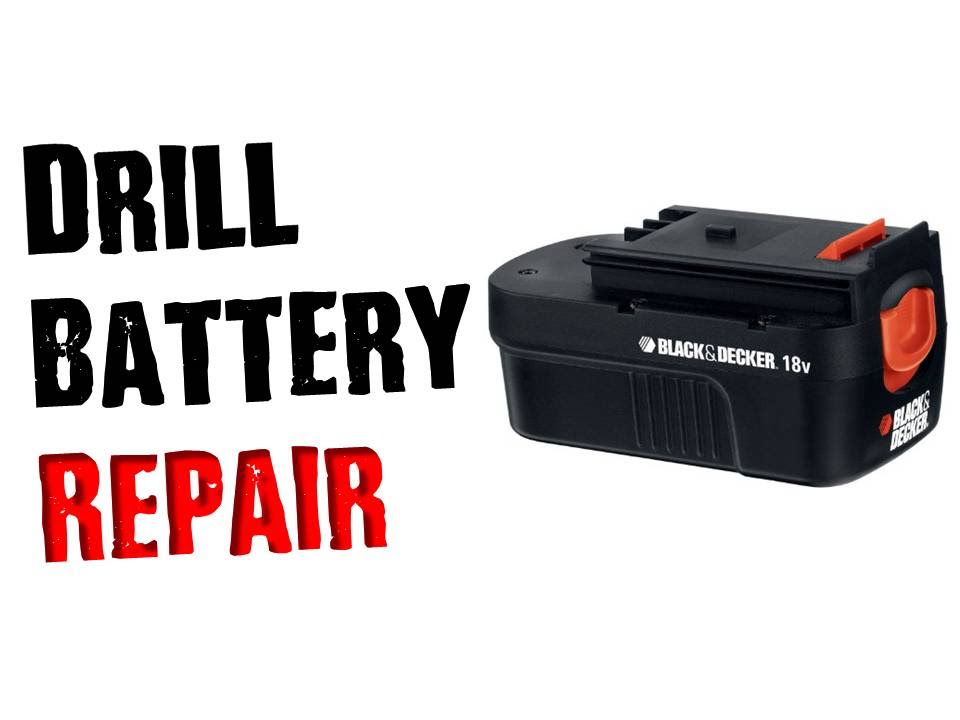
Credit: www.youtube.com
Safety First: Precautions Before Repairing
Fixing a drill battery that won’t charge can be tricky. Safety is the top priority before starting any repair. Batteries store power, which can be dangerous if handled wrong. Taking simple precautions protects you from harm. Follow these safety steps closely.
Wear Protective Gear
Always wear safety glasses to protect your eyes. Gloves shield your hands from chemicals and sharp edges. Long sleeves help prevent skin contact with battery acid. Protective gear reduces the risk of injury during repairs.
Work In A Well-ventilated Area
Battery fumes can be harmful to breathe. Open windows or work outside to keep fresh air flowing. Ventilation lowers the chance of inhaling dangerous gases. A fresh air environment makes the task safer and more comfortable.
Handle Batteries Carefully
Batteries contain chemicals that can leak and cause burns. Avoid dropping or puncturing the battery pack. Use tools gently to prevent damage. Store batteries away from metal objects to stop short circuits. Careful handling keeps you and your workspace safe.
Basic Troubleshooting Steps
Basic troubleshooting helps find simple issues with a drill battery. Many problems come from easy-to-fix causes. These steps save time and money before buying a new battery or charger. Follow these checks carefully to spot common errors.
Check The Charger And Power Source
First, make sure the charger is plugged in correctly. Test the power outlet by plugging in another device. A loose connection or dead outlet stops charging. Look for lights on the charger. No light may mean a faulty charger or no power.
Clean Battery Contacts
Dirt or rust on battery contacts can block charging. Use a dry cloth or fine sandpaper to clean the metal parts. Make sure the contacts are dry before putting the battery back. Clean contacts ensure good connection between battery and charger.
Test With Another Charger
Try charging the battery with a different charger made for the same model. This test shows if the problem is the charger or the battery. If the battery charges, the original charger is faulty. If it still doesn’t charge, the battery may need replacement.

Credit: juantorrubiano.com
Diy Tricks To Revive A Dead Battery
Drill batteries sometimes stop charging and seem dead. Fixing them doesn’t always need a new battery. Some easy tricks can bring them back to life. These simple steps save money and time.
Try these DIY methods carefully. They help check and revive the battery safely at home.
Jump-start With A Car Battery
Use a car battery to jump-start the drill battery. Connect the drill battery’s terminals to the car battery with cables. Positive to positive, negative to negative.
Leave the connection for a few minutes. This may give enough power to wake the drill battery. Remove cables and try charging the drill battery again.
Do this only if you know how to handle batteries safely. Avoid sparks or short circuits.
Freeze The Battery
Place the drill battery in a sealed plastic bag. Put it in the freezer for 12 to 24 hours. Cold can sometimes restore battery capacity.
After freezing, let the battery warm to room temperature. Try charging it again. This method can help with batteries that have crystal build-up inside.
Use A Multimeter To Test Voltage
A multimeter checks the battery’s voltage. Remove the battery from the drill. Set the multimeter to DC voltage.
Touch the red probe to the positive terminal. Touch the black probe to the negative terminal. Read the voltage on the screen.
If the voltage is very low, the battery may be dead. A healthy battery usually shows voltage near its rated value. Testing helps decide the next step.
Replacing Faulty Battery Components
Replacing faulty battery components can save a drill battery from being thrown away. This process involves opening the battery pack, checking each cell, and swapping out the bad ones. It is a careful task that requires attention but is doable with basic tools.
Opening The Battery Pack
Start by removing any screws on the battery casing. Use a plastic pry tool to gently separate the halves. Avoid using metal tools to prevent damage. Keep track of all parts and screws for reassembly.
Inspecting And Replacing Cells
Look inside for cylindrical battery cells. Check for signs of swelling, corrosion, or leaks. Use a multimeter to test voltage on each cell. Replace any cells with low or no voltage. Match new cells with the old ones for size and type.
Soldering Tips For Battery Repair
Use a low-wattage soldering iron to avoid heat damage. Heat the connection briefly and add solder to the joint. Avoid touching the cells directly with the iron. Work quickly and carefully to keep the battery safe. Allow the solder to cool before moving the pack.
When To Replace The Battery Instead
Sometimes, a drill battery will not charge because it is too old or damaged. In these cases, fixing the battery is not worth the effort. Replacing the battery is the best choice. This saves time and ensures your drill works well again. Knowing when to replace the battery helps avoid frustration and wasted money.
Signs Of Irreparable Damage
Look for swelling or leaking on the battery. These are clear signs it cannot be fixed. A battery that does not hold charge for long also needs replacement. If the battery gets very hot during charging, it is unsafe to keep using it. Strange smells or noises during charging are warning signs too. These problems show the battery is beyond repair.
Choosing The Right Replacement Battery
Pick a battery that matches your drill model. Check the voltage and capacity to match the original battery. Use batteries from trusted brands to ensure quality and safety. Avoid cheap, low-quality batteries as they may fail quickly. Pay attention to warranty and return policies for peace of mind. Proper battery choice improves drill performance and lifespan.
Disposing Of Old Batteries Safely
Do not throw old batteries in the trash. They contain harmful chemicals that damage the environment. Take old batteries to a recycling center or a hazardous waste facility. Many stores that sell batteries also offer safe disposal. Store old batteries in a cool, dry place until you can recycle them. Safe disposal protects people and nature from toxic waste.
Preventing Future Battery Charging Issues
Preventing future battery charging issues is key to keeping your drill ready. Simple habits and care can extend battery life. This saves money and avoids frustration. Follow these tips for better battery health and longer use.
Proper Charging Habits
Always use the charger that came with the drill. Chargers made for other batteries can cause damage. Charge your battery fully before the first use. Avoid overcharging by removing the battery once it’s full. Do not let the battery drain completely every time. Partial charges help keep the battery healthy. Keep the battery cool during charging. Heat can reduce battery life and performance.
Storage Tips
Store your battery in a dry, cool place. Avoid places with high heat or humidity. Remove the battery from the drill if storing for long periods. Keep the battery charge at around 40-60% when not in use. This helps prevent deep discharge. Avoid freezing temperatures, as cold can damage the battery cells. Regularly check stored batteries and recharge them if needed.
Regular Maintenance
Clean battery contacts with a dry cloth to ensure good connection. Dirt or debris can stop the battery from charging properly. Inspect the battery case for cracks or damage. Replace the battery if the case is broken. Test the battery regularly to check its charge capacity. Use the drill and battery regularly to keep them active. Avoid dropping or rough handling to protect battery cells.

Credit: www.rvtravel.com
Frequently Asked Questions
Why Won’t My Drill Battery Charge At All?
A dead battery may have lost its ability to hold power. Check for dirty or loose contacts and clean them gently. Also, test the charger to ensure it works correctly.
How Do I Fix A Drill Battery That Won’t Charge?
Try cleaning battery contacts with rubbing alcohol and a cloth. Let the battery cool down if it’s hot. Use a different charger to rule out charger issues.
Can A Drill Battery Be Revived After Complete Discharge?
Some batteries can recover if charged slowly with a proper charger. Deep discharge often shortens battery life but trying a slow charge might help.
How Long Should I Wait To Charge A Hot Drill Battery?
Wait at least 30 minutes for the battery to cool. Charging a hot battery can damage it further or cause safety issues.
Does Temperature Affect Drill Battery Charging?
Yes, extreme cold or heat can stop charging. Keep the battery at room temperature for the best charge results.
What Causes Drill Battery Contacts To Stop Working?
Dirt, dust, and corrosion on contacts block power flow. Clean contacts regularly with a soft cloth and rubbing alcohol.
How Can I Test If My Drill Battery Is Dead?
Use a voltmeter to check battery voltage. A very low or zero reading means the battery is likely dead.
Is It Safe To Charge A Damaged Drill Battery?
No, damaged batteries can overheat or leak. Replace damaged batteries to avoid safety hazards.
Why Does My Drill Battery Lose Charge Quickly?
Old batteries lose capacity over time and use. Frequent deep discharge and improper storage cause faster battery wear.
Can Using The Wrong Charger Harm My Drill Battery?
Yes, wrong chargers can cause overheating and damage. Always use the charger made for your specific drill model.
Conclusion
Fixing a drill battery that won’t charge can save time and money. Start by checking the charger and battery contacts for dirt or damage. Try resetting the battery or letting it cool down. Sometimes, simple steps bring your drill back to life.
Regular care helps batteries last longer. Keep your tools ready for any job by maintaining their power sources well. Don’t give up on a battery too soon—small fixes often work. Stay patient, and your drill will be ready to work again.