
Tired of hunching over your desk all day? You know that feeling – your back aches, your shoulders are tight, and your focus starts to drift.
What if you could transform your workspace into a place that actually supports your body and boosts your productivity? Imagine a desk that adjusts to you, not the other way around. Making your own adjustable desk might sound complicated, but it’s more achievable than you think.
We’ll walk you through it, step-by-step, so you can create a custom workspace that fits your needs perfectly. Get ready to say goodbye to discomfort and hello to a healthier, more energized way of working. Let’s get started!

Credit: ergodesks.co.uk
Desk Design Ideas
Create your own adjustable desk. Easily change desk height for comfort. This improves your workspace ergonomics.
Designing your adjustable desk is fun. It lets you create a workspace. This workspace fits your needs perfectly. Think about how you will use the desk. Consider your personal style too. This section guides your design choices.Choosing Your Style
What look do you want? Modern styles are clean. They have simple lines. Industrial looks use metal. They have a rugged feel. Rustic styles use natural wood. They feel warm and cozy. Minimalist designs are very plain. They focus on function. Pick a style that inspires you.Determining Desk Size
Measure your space first. How much room do you have? Think about your equipment. Do you need space for monitors? What about a keyboard and mouse? You need enough legroom. A good desk is not too big. It is not too small either. It must fit your area well.Material Selection
Wood is a popular choice. It looks good. It is also strong. Plywood is an option. It is affordable. Solid wood is more durable. Metal is very strong. It has an industrial look. You can combine materials. Use a wood top. Use metal legs. Choose materials that last. They should also look nice.Gathering Your Tools
Gathering Your Tools First, collect all necessary items. You will need a saw and a drill. Screws and wood glue are also important. Having everything ready makes building easier.
Building an adjustable desk requires the right equipment. You need the correct tools. This makes the job easier. It also ensures a better result. Let’s look at what you need.Essential Power Tools
A drill is very important. It drives screws. It makes pilot holes. A circular saw is also helpful. It cuts wood pieces. A jigsaw can make curved cuts. This is useful for some designs.Hand Tool Necessities
You will need a tape measure. Accuracy matters greatly. A pencil marks your cuts. A screwdriver set is vital. You need various sizes. A level ensures straight surfaces. Clamps hold wood together.Safety Gear
Safety first, always. Wear safety glasses. Protect your eyes from debris. Gloves keep your hands safe. A dust mask prevents inhaling sawdust. This is crucial for health.Cutting The Wood
Cutting the wood is a crucial step. Precision here matters greatly. Accurate cuts ensure a stable desk. This part requires your full attention. Let’s get started.
Measuring And Marking
First, measure your wood carefully. Use a reliable tape measure. Mark your cut lines clearly. Use a sharp pencil. Double-check all your measurements. Mistakes are easy to make. Good marking prevents bad cuts. It’s worth taking time.
Precise Cuts
Now, make your cuts. Use a saw for this. A circular saw works well. A miter saw is also good. Keep the saw straight. Follow your marked lines. Make smooth, clean cuts. Avoid jagged edges. Take your time. Rushing leads to errors.
Sanding Edges
Smooth all cut edges. Use sandpaper for this. Start with rough grit paper. Move to finer grit paper. Sand until edges are smooth. This removes splinters. It makes the desk safer. It also looks better. Smooth edges feel good.

Credit: www.youtube.com
Building The Base
Creating the desk base is step one. This sturdy foundation supports your adjustable desktop. Strong legs are essential for stability.
This section guides you. We build the desk’s foundation. This is the base. It supports everything. A strong base is key. Let’s get started.Frame Construction
We build the desk frame. Use sturdy wood. Cut pieces to size. Measure twice, cut once. Assemble the frame pieces. Use wood screws. Make sure it is square. A solid frame is vital. This forms the desk’s skeleton.Leg Assembly
Now, attach the legs. Legs hold the desk up. Use strong leg brackets. Secure them to the frame. Ensure they are level. Wobble is not good. The legs must be stable. They bear all the weight.Adding Support
We add extra support. This makes the base stronger. Use cross braces. Connect the legs with them. This prevents swaying. A rigid base is important. It ensures desk stability. Your desk will last.Creating The Adjustable Mechanism
This is the heart of your desk. Creating the adjustable mechanism makes it work. You will build the part that moves the desk. It needs to be strong. It needs to be smooth. This section guides you through it.
Choosing A Mechanism Type
Many options exist. Consider your budget first. Think about how much weight it will hold. Manual cranks are simple. Electric motors are convenient. Gas springs offer smooth lifts. Research each type carefully. Select the best fit for you.
Installing The Lifting System
Follow the manufacturer’s instructions. Align the parts precisely. Secure all screws tightly. Ensure everything is level. This step is critical. Poor installation causes problems. Double-check your work.
Testing The Movement
Lift the desk slowly. Lower it down gently. Listen for strange noises. Feel for any sticking points. Adjust as needed. Make sure it moves freely. Test it with some weight. Your desk should operate smoothly. It should feel stable.
Attaching The Desktop
Secure the desktop firmly. This ensures a stable workspace. A solid attachment is key.
This is a crucial step. You will connect your desk’s surface to its base. Proper attachment ensures a sturdy workspace. It makes your desk functional. Take your time here. Precision matters for a good result.Positioning The Top
First, decide where the top goes. Place the desktop upside down. Position the frame on the underside. Ensure it is centered. Check alignment carefully. Leave a small overhang. This overhang looks good. It also protects edges.Securing The Desktop
Now, attach the desktop. Use screws. Pre-drill pilot holes. This prevents wood splitting. Drive screws through the frame. They go into the desktop. Use appropriate screw length. Do not overtighten them. This can damage the wood.Ensuring Stability
Test the connection. Gently push the desktop. It should not wobble. If it moves, add more screws. Check all attachment points. A stable desk is safe. It is also pleasant to use. You are almost done. Your new desk is ready.Finishing Touches
Add the final details. These make your adjustable desk look great. Consider smooth edges and a clean finish. Your workspace is almost ready.
The final steps make your desk shine. These finishing touches transform your DIY project. They give your adjustable desk a professional look. It will feel like a store-bought item.Sanding And Priming
Smooth all surfaces. Use fine-grit sandpaper. This removes rough spots. It prepares the wood. Apply a thin primer coat. Primer helps paint stick well. Let the primer dry completely. Sand lightly again. This ensures a smooth finish.Applying Paint Or Stain
Choose your favorite color. Apply paint evenly. Use thin coats. Multiple thin coats are best. Let each coat dry. This prevents drips. You can also stain the wood. Stain brings out wood grain. Apply stain with a cloth. Wipe off excess stain. Let it dry thoroughly. Seal the finish. Use a clear topcoat. This protects the surface.Adding Hardware
Install desk legs. Attach them securely. Use strong screws. Mount the adjustable mechanism. Ensure it moves smoothly. Add drawer pulls. Choose a style you like. These small details matter. They complete your desk. Your new desk is ready.Adjusting And Using Your Desk
Create your own adjustable desk. Learn simple steps to build it. Find the perfect height for your workspace. Enjoy better comfort and productivity.
You built your adjustable desk. Now, let’s make it work for you. Proper adjustments ensure comfort. They also boost your productivity. This section guides you. Learn to set it up. Use it effectively. Keep it in top shape.Desk Height Settings
Find your perfect height. Your elbows should be at 90 degrees. This happens when your arms rest. Your forearms should be parallel. They should be parallel to the floor. Your keyboard sits at this level. Your monitor is above this. Adjustments are simple. Most desks have levers. Some have crank wheels. Move the desk up or down. Find the sweet spot. Repeat this for sitting. Then repeat for standing.Ergonomic Placement
Position your monitor correctly. The top of the screen is key. It should be at eye level. Or slightly below. This prevents neck strain. Keep your screen an arm’s length away. Your wrists stay straight. Avoid bending them. Place your mouse close. Keep it near your keyboard. This reduces shoulder reach. Good posture is vital. It makes work easier.Desk Maintenance Tips
Keep your desk clean. Wipe it down regularly. Use a soft, damp cloth. Avoid harsh cleaners. They can damage the surface. Check moving parts often. Lubricate them if needed. This keeps them smooth. Ensure all screws are tight. Loose parts can cause issues. A well-maintained desk lasts longer. It serves you better.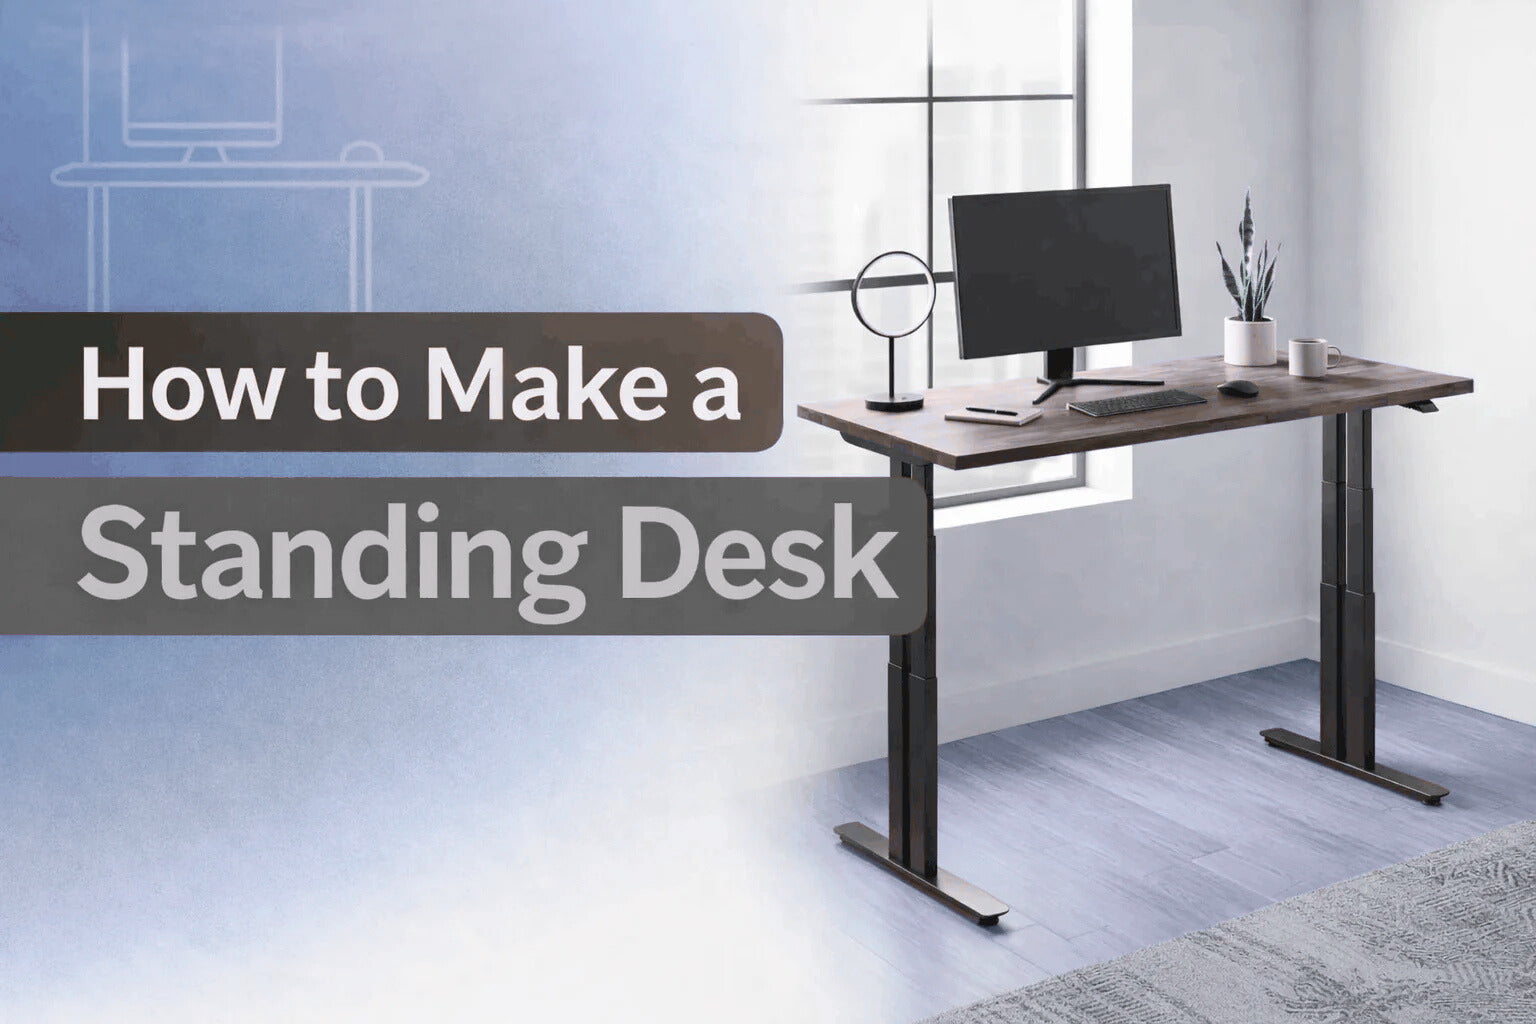
Credit: www.imovr.com
Frequently Asked Questions
What Is An Adjustable Desk?
An adjustable desk lets you change its height. You can sit or stand while you work. It is good for your health.
Why Use An Adjustable Desk?
It helps you move more during the day. Standing can reduce back pain. It also boosts your energy levels.
How Do Adjustable Desks Work?
Most desks use a motor or crank. A motor adjusts the height with a button. A crank moves it manually.
Are Adjustable Desks Easy To Build?
Yes, with the right plan. You will need some tools. Follow simple steps for success.
What Materials Are Needed For An Adjustable Desk?
You will need wood for the top. For the frame, metal parts work well. Don’t forget the lifting mechanism.
How Much Does An Adjustable Desk Cost?
DIY desks are often cheaper. Buying one can range widely. Costs depend on features and materials.
Can I Make A Standing Desk Myself?
Certainly, it is a great project. You can customize it easily. Enjoy your new workspace.
Conclusion
Building your own adjustable desk is rewarding. You now have a workspace that fits you. Enjoy better comfort. Work healthier every day. This project saves money too. You created something useful. Feel proud of your work. Your new desk awaits.